PuTTY
Compatible Nitrokeys |
|||||||
|---|---|---|---|---|---|---|---|
✓ active |
⨯ inactive |
✓ active |
✓ active |
⨯ inactive |
✓ active |
✓ active |
⨯ inactive |
このミニハウツーでは、Nitrokeyが初期化され、暗号鍵が入っていることを前提としています。
クライアント側に必要なもの:*。
`PuTTY <https://www.chiark.greenend.org.uk/~sgtatham/putty/latest.html>`_またはその亜種。
GPG4Win or pageant.exe with Smartcard support from Dr. Peter Koch
オプションです。`OpenPGP Minidriver <https://wald.intevation.org/frs/?group_id=49&release_id=353>`_となります。
**1)ページェント*1
pageant.exeを起動します。これが実行されていることは、タスクバーの通知領域に表示されます。

ダブルクリックすると、現在のキーのビューが開きます。

キーを挿入するとこのようになります。

ここに何も表示されない場合、pageantを再起動しなければならないか、他のアプリケーションが既にスティックを使用している可能性があります。pgp-agentが動作している可能性があるので、終了させなければなりません。ここで必要なのは、サーバの ssh 設定に保存したい公開鍵だけです。そこで、スティックを挿入しながら CTRL を押すと…

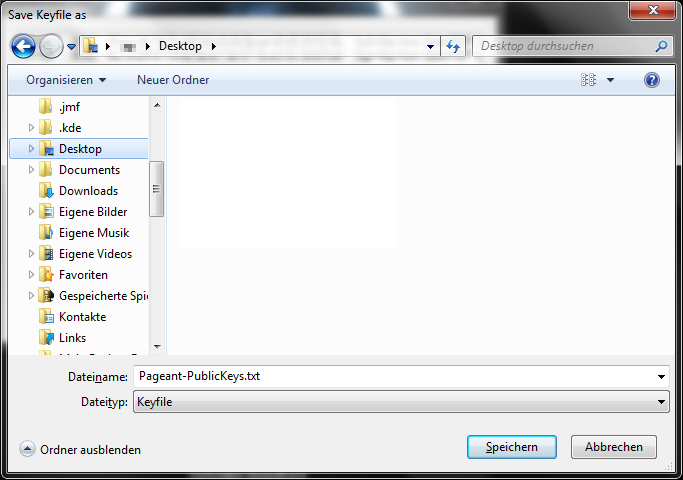
をクリックし、Pageant-PublicKeys.txtを表示します。

authキーのssh-rsaエントリーを探し、サーバー上のラインをauthorized_keysに追加しました。
**2)PuTTY
PuTTY自体については、意外と語ることがありません。

"Attempt authentication using Pageant "が設定されている必要がありますが、これはデフォルトです。
以上で、ページェントの実行中にサーバーに接続し、キーを入手すると、すぐにCrypto-Stickのパスワードを求められ、ログインできるようになります。
3) openpgp-minidriver (optional)。
スティックを差し込むたびにWindowsが「Smartcard」のドライバーが見つかりませんでしたと報告してきてイライラする方は、これを解消することができます。上記のドライバのx86版またはx64版をインストールするだけで、スマートカードは以下のようになります。
