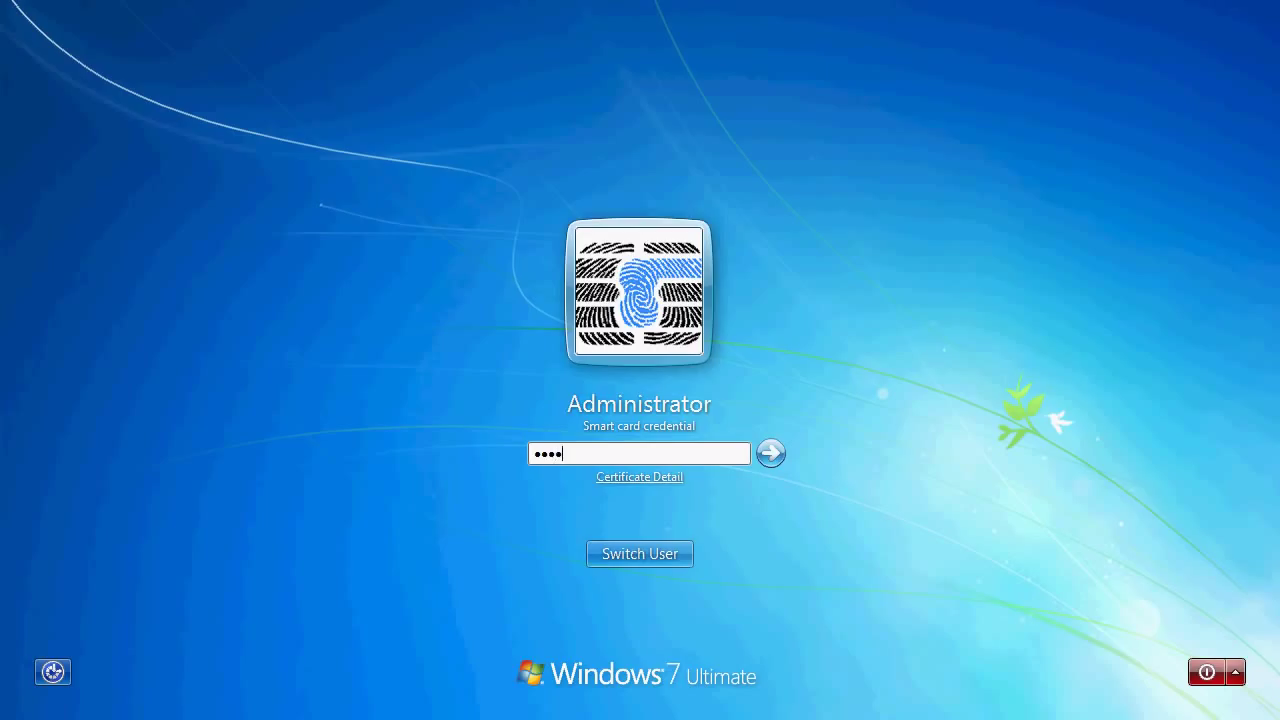
スタンドアロンのWindowsコンピュータでEIDAuthenticateによるログイン
Compatible Nitrokeys |
|||||||
|---|---|---|---|---|---|---|---|
✓ active |
⨯ inactive |
⨯ inactive |
✓ active |
⨯ inactive |
✓ active |
⨯ inactive |
⨯ inactive |
最新バージョンの`OpenSC <https://github.com/OpenSC/OpenSC/wiki>`_をダウンロードしてインストールします。Nitrokey Storage 2またはNitrokey Pro 2を使用している場合は、代わりに`OpenPGP-CSP <https://github.com/vletoux/OpenPGP-CSP/releases/tag/1.3>`_ドライバを**インストールしてください。
`EIDAuthenticate <https://www.mysmartlogon.com/eidauthenticate/>`_をダウンロードしてインストールします。
注釈
無料のCommunity Editionは使用できません。代わりにエンタープライズ版をお試しいただけます。
Start
EIDConfigurationWizard.exe"Associate a new certificate "を選択
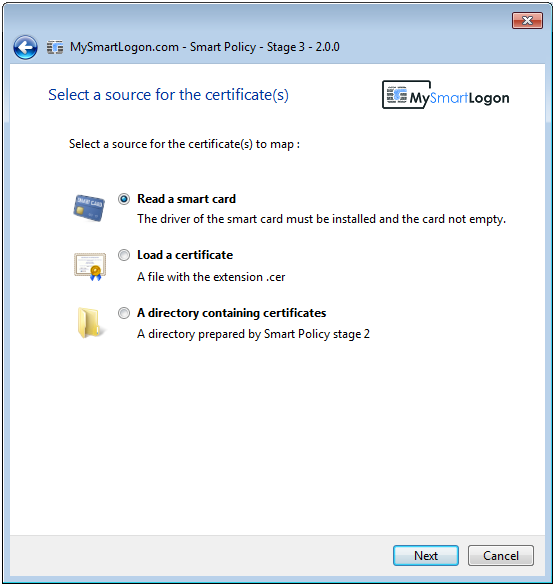
Select or generate a Certificate Authority which should issue the user's certificate on the Nitrokey.
Enter the user PIN which you defined previously in step 4. Wait a moment until a new keypair and certificate are generated. In case your Nitrokey is not detected you may want to execute
certutil -scinfofor troubleshooting.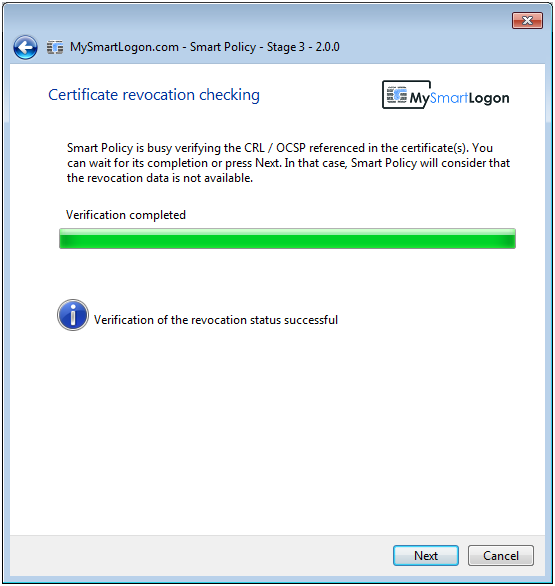
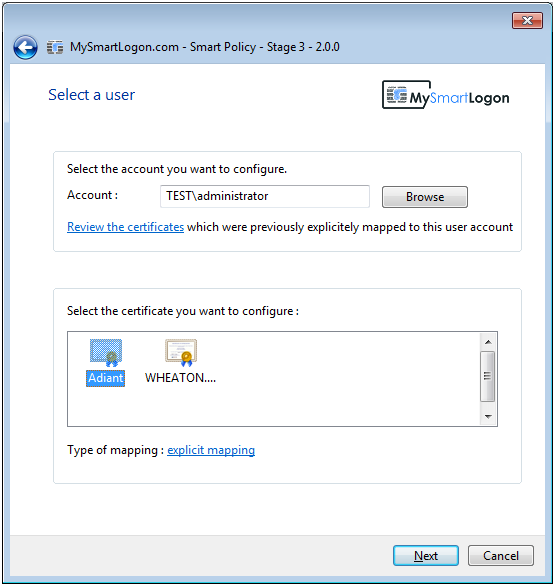
新しく生成された証明書を選択し、「続ける」を押します。
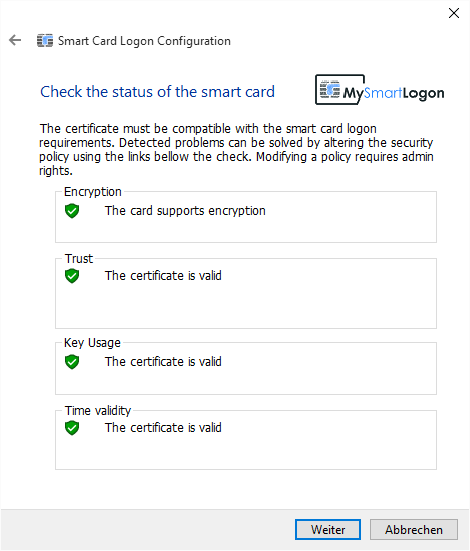
すべてのチェックが成功するはずです。続けてください。
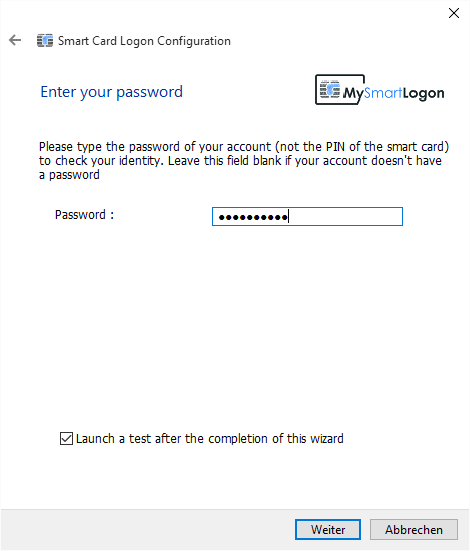
ユーザーアカウントのパスワードを入力してください。
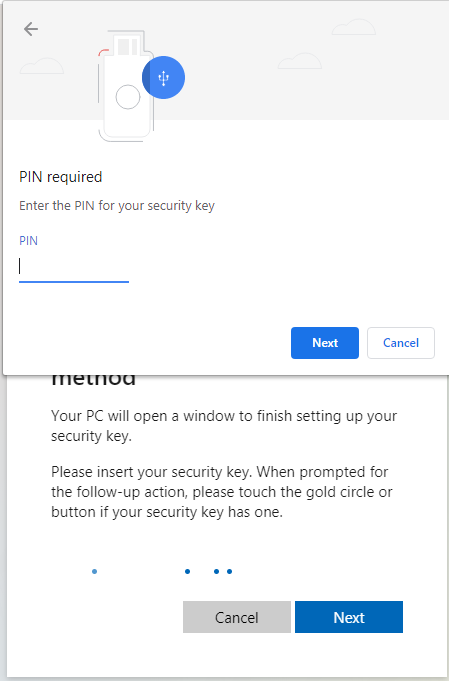
手順4で設定したユーザーPINを入力します。
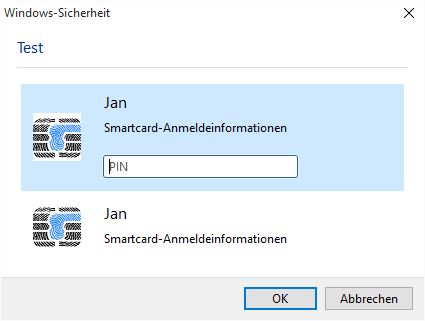
最終的な画面は以下のようになります。
さらに、スマートカード強制発行ポリシーを有効にしたり、Nitrokeyの取り外し時にコンピュータを自動的にロックするなどの設定を行うことができます(EIDConfigurationWizardElevated.exeを使用)。
今後、Windowsパソコンにログオンする際には、Nitrokeyを接続してPINを入力する必要があります。