Thunderbird
Compatible Nitrokeys |
|||||||
|---|---|---|---|---|---|---|---|
✓ active |
⨯ inactive |
⨯ inactive |
✓ active |
⨯ inactive |
✓ active |
✓ active |
⨯ inactive |
Thunderbird 78.3以降のバージョン
At the moment Thunderbird's 78 support for the OpenPGP emails is not easy to set up. See Thunderbird's documentation for details. Here is a comprehensive German guide.
トラブルシューティング
エラーメッセージを表示します。The configured key ID '4BA0183FCBA844A7' cannot be found on your keyring
Make sure that the public key is imported to the Thunderbird's manager and
キーIDは空白を含まず、0-9 A-Fの範囲の16文字で構成されています。
GPAまたはKleopatraソフトウェアがインストールされていること。
スマートカードの取り扱いには、Kleopatraまたは`GPA <openpgp-keygen-gpa.html>`_ソフトウェアをご利用ください。
サンダーバード77以上
インストール
`こちらの<https://www.nitrokey.com/documentation/installation>`_の説明に従って、デバイスドライバーをインストールします。
`Thunderbird <https://www.thunderbird.net/en-US/>`_とアドオンの`Enigmail <https://www.enigmail.net/index.php/en/>`_をインストールします。
暗証番号の変更
Nitrokeyには2つのPINがあります。
日常業務に必要なユーザーPIN
管理者PINは、デバイスのキーやその他の設定を変更するために必要です。また、NitrokeyはAdmin PINでロックを解除することができます(例:ユーザーPINを3回誤入力した場合など)。
Nitrokeyを受け取ったら、すぐにUser PIN = "123456 "とAdmin PIN = "12345678 "に変更してください。
手順
NitrokeyをパソコンのUSBポートに挿入する。
Thunderbirdを起動します。
Thunderbirdで、以下の図のように選択します。"OpenPGP" → "スマートカードの管理"
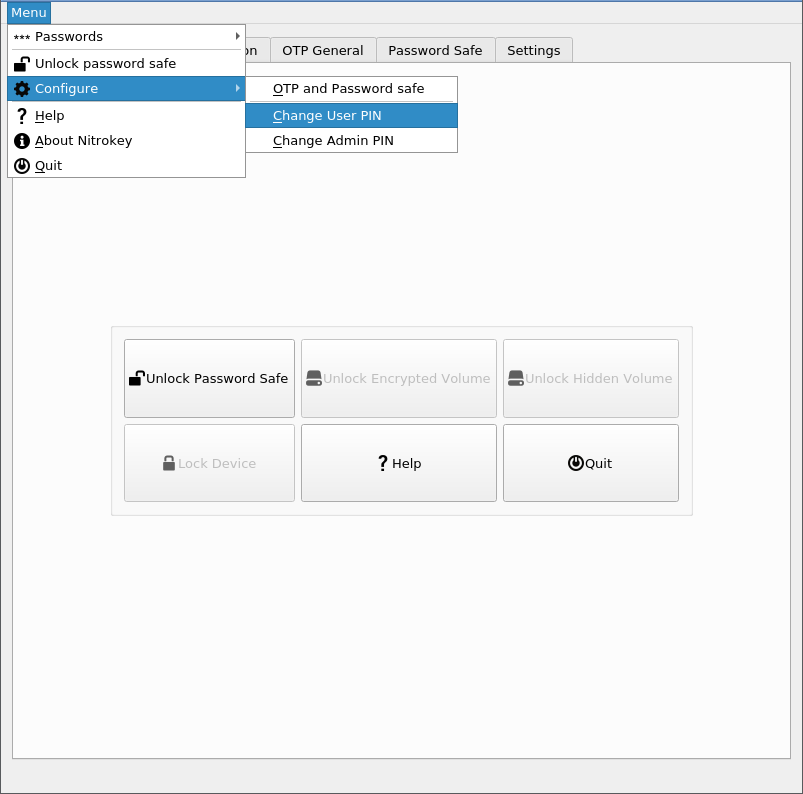
SmartCard Details "ウィンドウで、"SmartCard → Change PIN "を選択します。
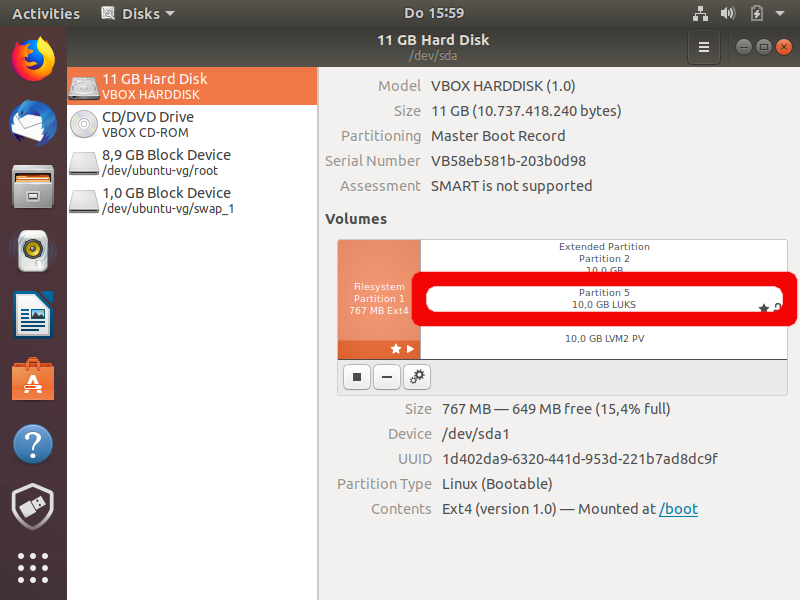
Change PIN "を選択します。この暗証番号は、日常業務で必要となるユーザー暗証番号です。現在の暗証番号(配送時は "123456")と新しい暗証番号を2回入力してください。この暗証番号には、以下の文字が使用できます。 a-z A-Z 0-9 / .;;:- !?() [] {}% +.暗証番号は6文字以上で入力してください。OK "をクリックします。
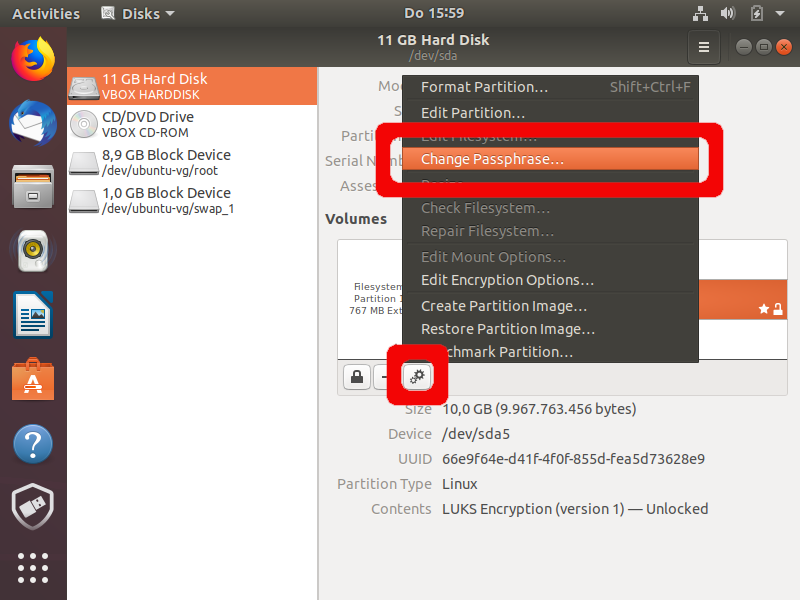
Admin PINの手順を繰り返します。"スマートカード → PINの変更"
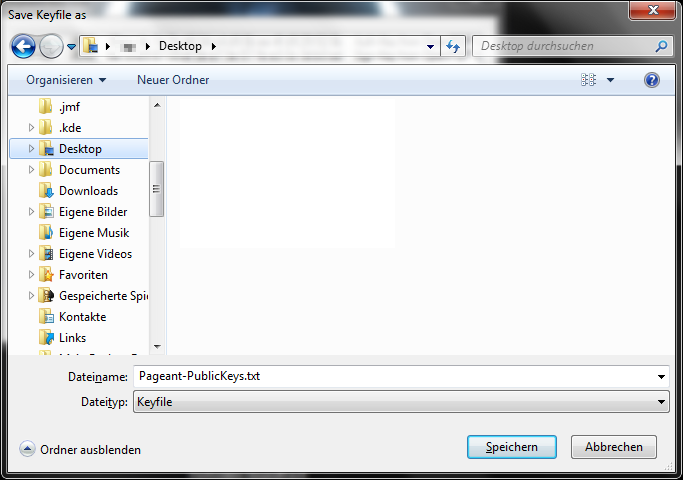
Change Admin PIN」を選択します。これはまれにしか必要としない管理者用暗証番号です。現在の暗証番号(配送時は「12345678」)と新しい暗証番号を2回入力します。このPINには、以下の文字が使用できます。 a-z A-Z 0-9 / .;;:- !() [] {}% +.暗証番号は8文字以上で入力してください。OK "をクリックします。
これでPINの変更が完了し、引き続き個人キーを生成する必要があります。
キーの生成
To encrypt data and e-mails, a key pair consisting of a public key and a private key, must first be generated. The so-called public key is used to encrypt the data or e-mails. You can distribute this to all those with whom you want to communicate securely (for example, publish it publicly on your site). The so-called private key is used to decrypt the data or messages. This key should NEVER be made known! Usually, you also do not have direct access to it (see below), since this is stored securely on the Nitrokey. Use the Nitrokey to create both keys using the following procedure:
NitrokeyをコンピュータのUSBポートに挿入する。StartThunderbird
Thunderbirdで、以下の図のように「OpenPGP」→「Manage Smart Card」を選択します。
"SmartCard details "ウィンドウで、"SmartCard"→"Generate key "を選択します。
次の画面で、鍵を生成するためのメールアドレスを選択します。ユーザーID」で指定したメールアドレスが正しいことを確認してください。また、秘密鍵のバックアップコピーをパソコンに保存するかどうかも指定できます。
バックアップコピーを作成しないと、Nitrokeyを紛失したり破損したりした場合に、暗号化されたデータを入手するチャンスがありません
It is recommended to store this safety device. Select “Save key copy of the key outside the Smart Card”. Then enter your personal password for the backup copy under “Passphrase”. This password should not be less than 8 characters, and should contain both uppercase and lowercase letters and numbers. You can also use a long sentence, but avoid known prose or lyric. Also, no name or known term should be used.
Allowed characters:
a-z,A-Z,0-9,/.,;:-!?( )%+(no umlautsä,ü,ö,Ä,Ü,Öorß)Poor Passwords:
qwerty123,ILoveSusi3,PasswordStrong Passwords:
g(Ak?2Pn7YnorKi.stg2bLqzp%dorA dog with greeen Earz and fife legs(spelling errors increase security)You do not need this password for daily work. It is only necessary for the restoration of the secret key, e.g. if you have lost the Nitrokey. Therefore, keep the password in a safe place.
また、この鍵を自動的に無効にするかどうか、いつ無効にするかを指定することもできます。これは、この時点から、この鍵で電子メールを暗号化することができなくなり、新しいキー・ペアを作成しなければならないことを意味しています。
最後に「Generate key pair」をクリックします。
キーを生成するかどうかを聞かれます。Yes "を選択してください。
プログラムがあなたのキーをスティックに書き込むためには、管理者用暗証番号とユーザー用暗証番号(上記で変更)を入力する必要があります。
鍵の生成には数分かかることがあります。早期にプログラムを終了しないでください。
鍵の生成が完了すると、次のようなメッセージが表示されます。緊急時に鍵を無効にすることができる証明書が作成されました。この証明書は、あなたの秘密鍵とともに自動的に保存されます。これは、鍵やバックアップを紛失した場合に、鍵の有効性を無効にできるように、プリントアウトするか、少なくとも他の外部媒体にバックアップしてください。"はい "をクリック
You can now select the directory in which the backup copy is stored. This copy is encrypted with your password entered above. This means that no one can read or use the keys without your password. Do not give your password to anyone. This file with the name of your e-mail address and the suffix
.ascshould be backed up on another medium. After selecting the directory, click “Save”.
ここで再度、ユーザーPINまたはパスフレーズを指定する必要があります。そして、"OK "をクリックします。

Admin PINの手順を繰り返します。"スマートカード → PINの変更"
これで、証明書が作成され、保存されたというメッセージが表示されます。OK "をクリックします。
キーの生成が完了しました。これでプログラムを終了することができます(ファイル - 閉じる)。
あなたのNitrokeyはパーソナライズされ、すぐに使用できます。安全なメールの暗号化で楽しみましょう!*。