System Recovery
The following describes the recovery process for the NetHSM system software. These instructions are only applicable if the API is inoperable, e.g. not responding to API requests. In the case of an operable API perform a factory reset instead. Follow the instructions precicsely to prevent any accidential deletion of data.
Important
The system recovery only works if the GUID partition table (GPT) and the partitions itself on the disk are not corrupted. A corruption could be indicated by the following message during boot.
Booting 'NetHSM automatic boot (USB or primary system)'

GRUB: No valid configuration found on (usb0).
GRUB: No valid configuration found on (ahci0,gpt1).

GRUB: Booting failed. System will switch off in 10 second.
If they are corrupted this instructions will result in a factory installation of the NetHSM system software.
The system recovery can be performed as follows.
Download the installer image ending with …installer.img.zip from the provided private download page.
Important
Download the installer image of the same version which was installed at the time of corruption. A downgrade, or upgrade skipping versions, is not supported.
Unpack the installer image.
Write the installer image to a USB flash drive. For this you could use the graphical tool balenaEtcher. On Linux you could also use the command line tool dd. Ignore any warning that a partition table is missing.
Connect the USB flash drive with any USB port of the NetHSM.
Note
Some USB drives are incompatible with the NetHSM. This results in the NetHSM not recognizing them as a boot media. In case the NetHSM does not boot from the connected USB drive, try a different USB drive model.
Optionally: Connect a keyboard and monitor with the NetHSM.
Make sure the system is turned off, but connected to power.
Turn the NetHSM on by pressing the power button on the front.
Now the software is going to be installed. Wait for ca. one minute until the NetHSM shuts down. Optionally, if you have a monitor connected: When you see the boot menu, select NetHSM automatic boot (USB or primary system) in the first menu and then NetHSM Software Installer in the second menu.
Warning
Do NOT select
NetHSM Factory Reset - DELETES ALL DATA!from the menu. This will unrecoverable wipe the data on the disk.
Download the installer image ending with
installer.img.zipfrom the provided private download page.Important
Download the installer image of the same version which was installed at the time of corruption. A downgrade, or upgrade skipping versions, is not supported.
Make sure the system is turned off, but connected to power, and the power button on the back turned on.
Connect the BMC network port with a network cable.
See the image below to identify the BMC network port.

Back side of the server
Per default the BMC will wait for an address assignment with DHCP. If DHCP is not available the link-local address can be determined with Nmap. The command
nmap <network-in-cidr-notation> -p 80 --openwill return a list of hosts with open port 80.Open the BMC website in a web browser, using the determined IP address from the previous step. To login, the default credentials are username
bmc_admin, and password8mCU$3r0nE.Important
In case you encounter an unauthorized login error on the BMC web interface it can be three of the following issues.
Username or password wrong.
During factory reset the BMC generates a new TLS certificate. Some web browsers fail with connection errors when the certificate changes while the same window stays open. Close the web browser window and open a new one.
The BMC software sometimes shows the issue that it doesn’t accept an older session cookie which are still in the cache of the web browser. Clear the web browsers cache and try again.
Mount the downloaded installer image by clicking in the menu on the left on FRU: Hermes CFL (with TPM) Nitrokey Config followed by Virtual media in the submenu. In the middle open the tab usb0, and click the button Attach media.

BMC menu to attach USB device
In the opening dialog choose Stream local file via browser as the Transfer method. Click the button Browse… and choose the downloaded installer image. Confirm the operation with the Submit button.
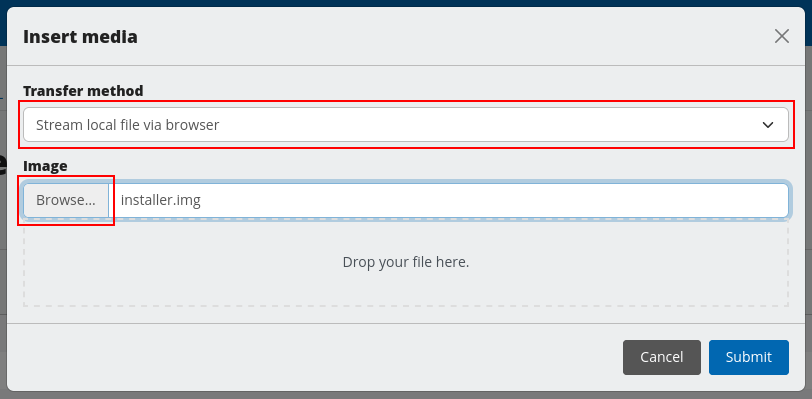
BMC menu to select USB image
In the menu on the left select FRU: Hermes CFL (with TPM) Nitrokey Config, and then Remote KVM.
In the middle click the Open a floating Remote KVM window button, in the top right corner of the VGA output box.
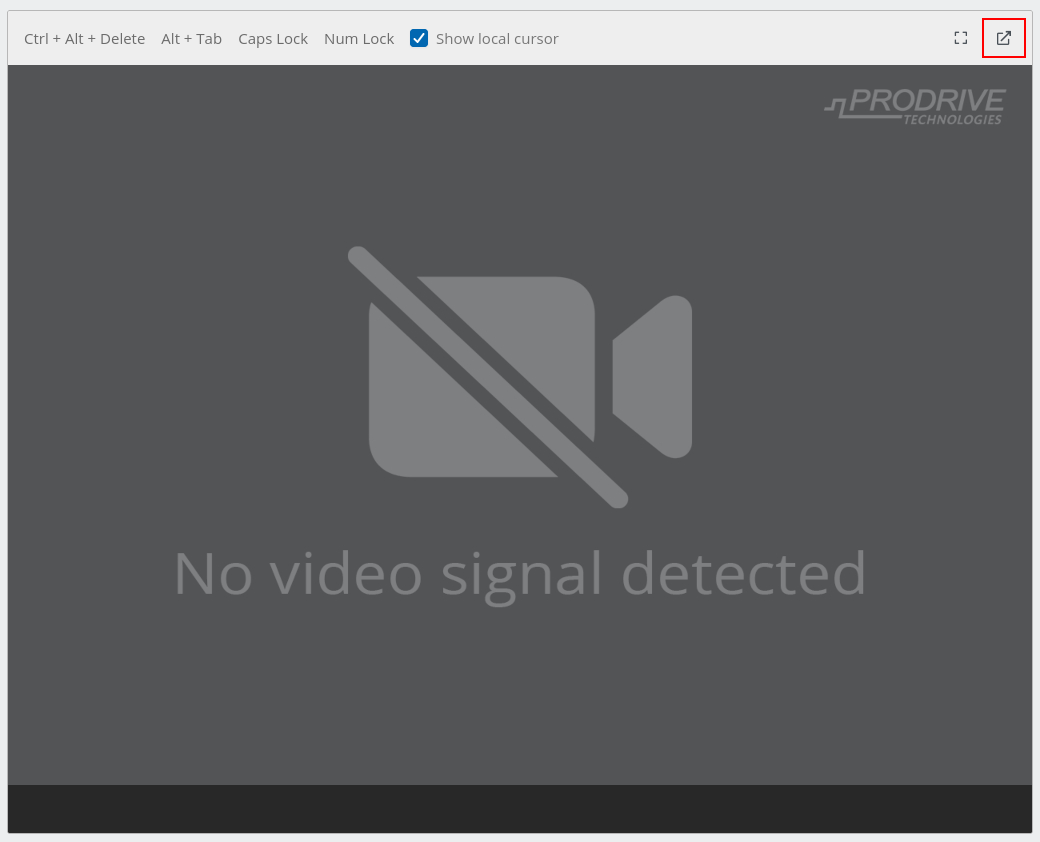
BMC KVM console view
This window will show you the graphical output of the NetHSM installer. Keep this second window open together with the main window from the BMC.
Change to the view Overview from the top of the menu on the left.
In the box Override Boot Device, select USB_BMC-virtual_media from the drop-down next to Select a Boot Device.

BMC boot device setting
In the box with the title FRU: Hermes CFL (with TPM) Nitrokey Config, select On from the drop-down menu next to Power. Confirm with the Apply button.
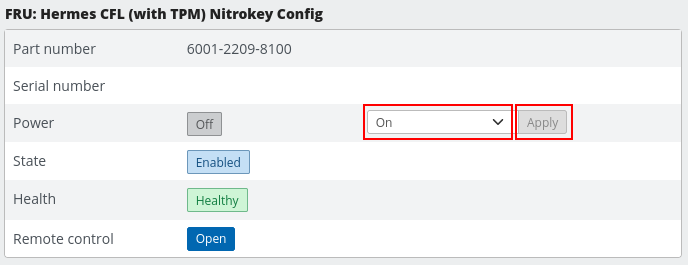
BMC power up setting
In the previously opened Remote KVM window you can now see the installation wizard.
The KVM window now shows the boot dialog. Confirm the selection of
NetHSM automatic boot (USB or primary system)with the Enter key.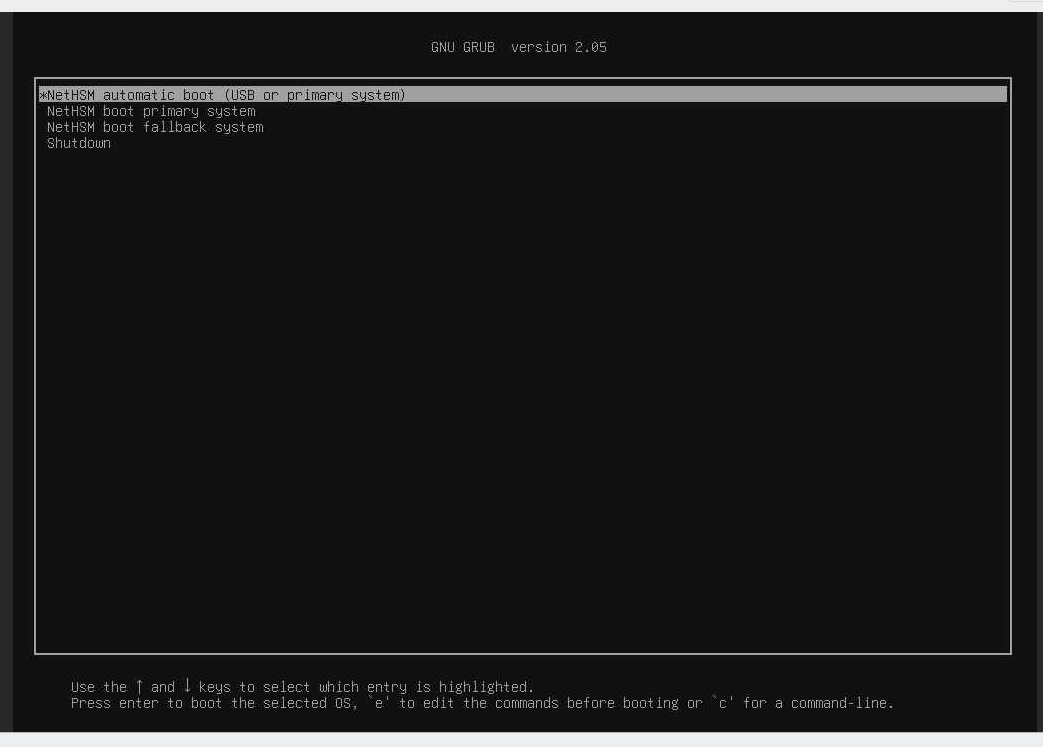
NetHSM boot selection in the BMC KVM console
In the following dialog confirm the selection of
NetHSM Software Installerwith the Enter key.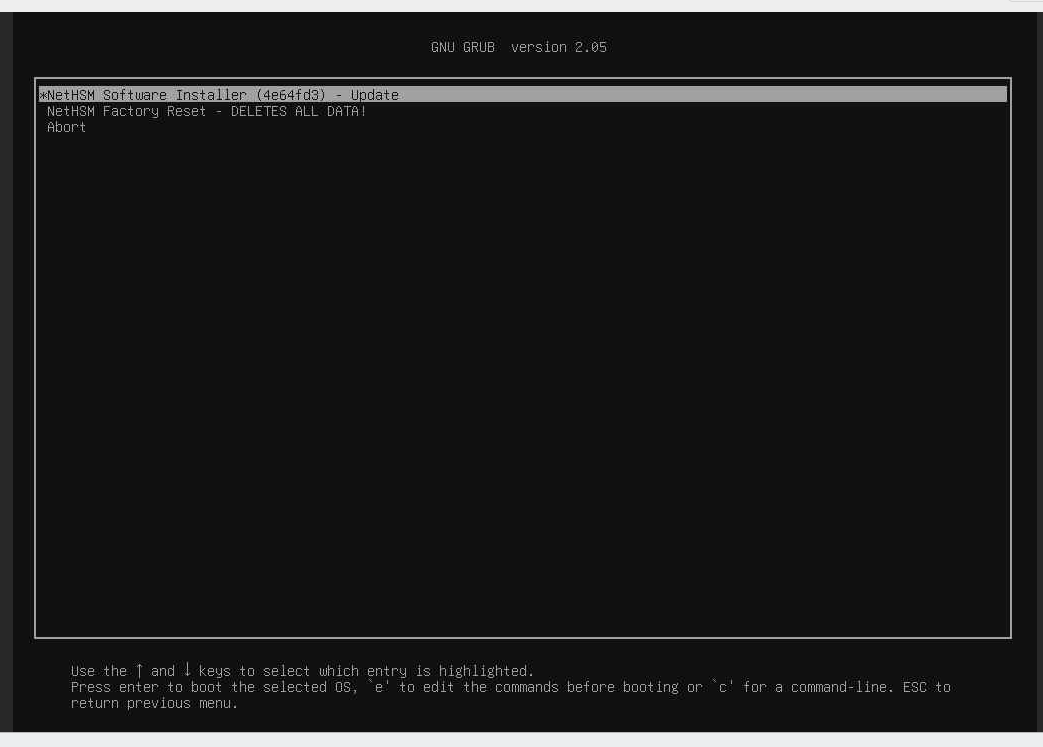
NetHSM installer selection in the BMC KVM console
Warning
Do NOT select
NetHSM Factory Reset - DELETES ALL DATA!from the menu. This will unrecoverable wipe the data on the disk.
The NetHSM Installer will install the system software and shutdown.