Getting Started
This chapter describes the physical installation and provisioning of the NetHSM.
Verify Sealed Hardware
Your NetHSM hardware is shipped inside a sealed box.
Please follow this process closely to verify that it has arrived safely.
Check the two security seals on the box for any damage, peeling, or other alterations. One seal is located on the top of the box and one on the bottom.
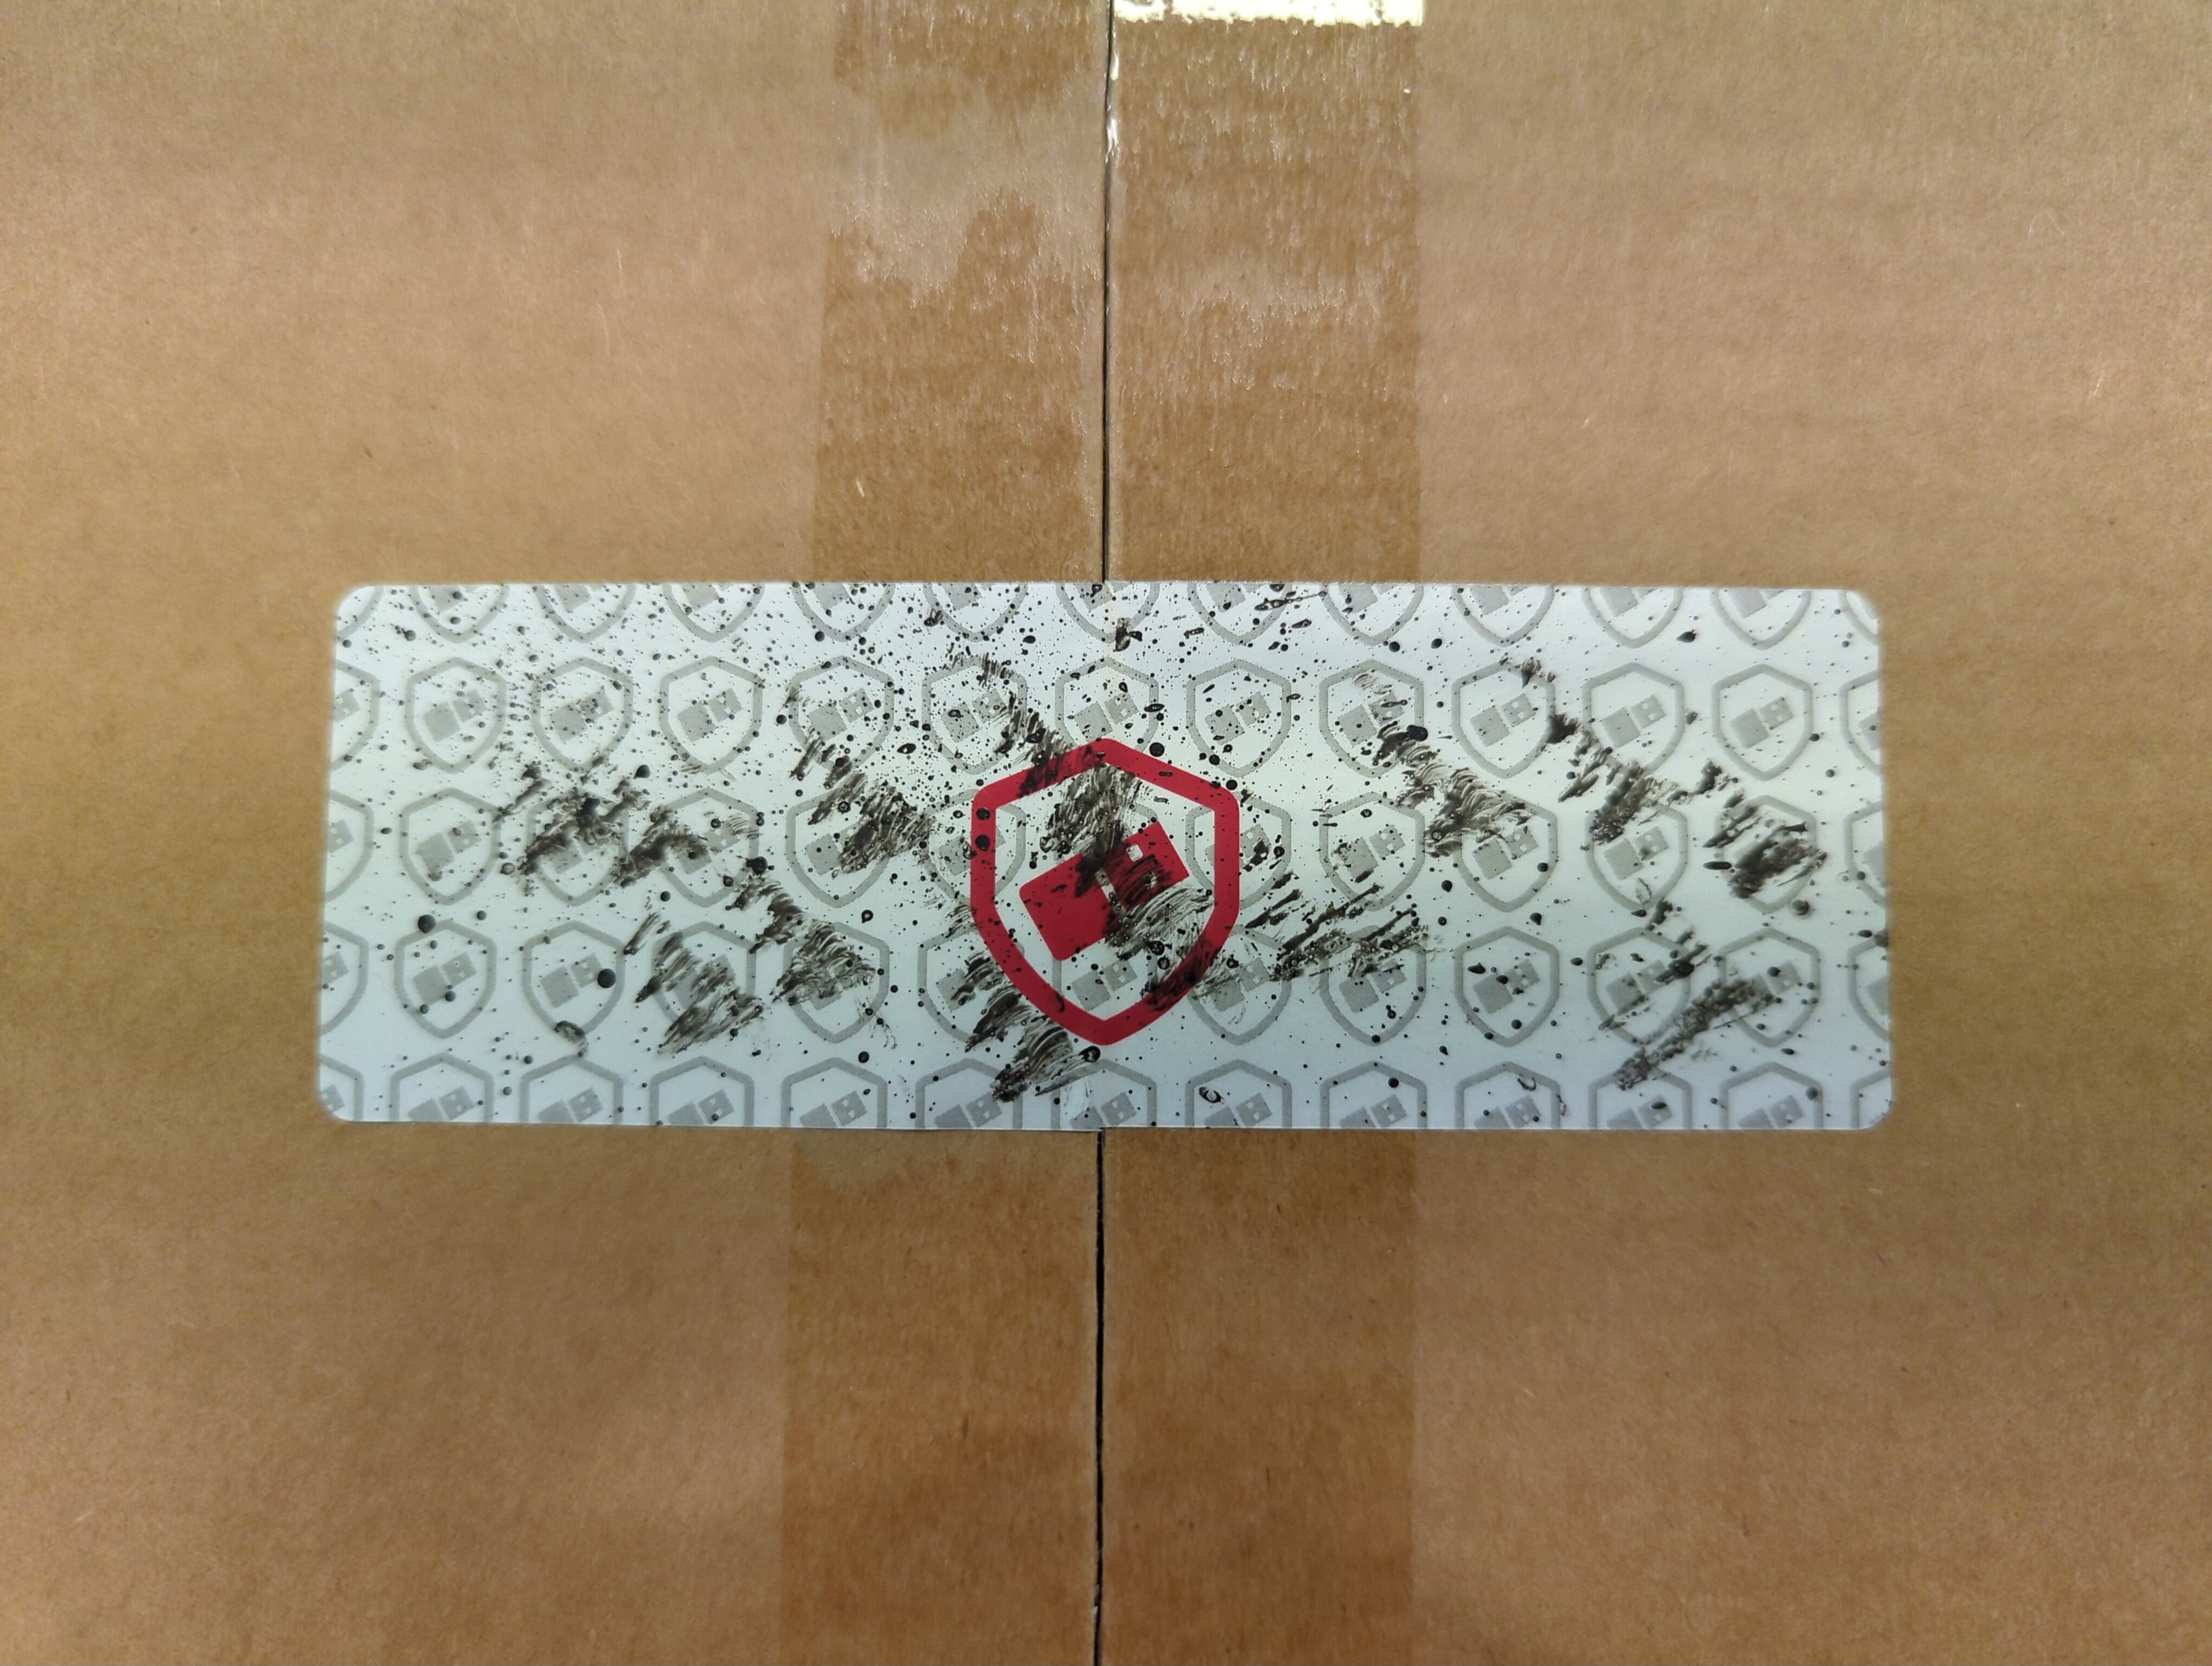
Seal on the top of the box
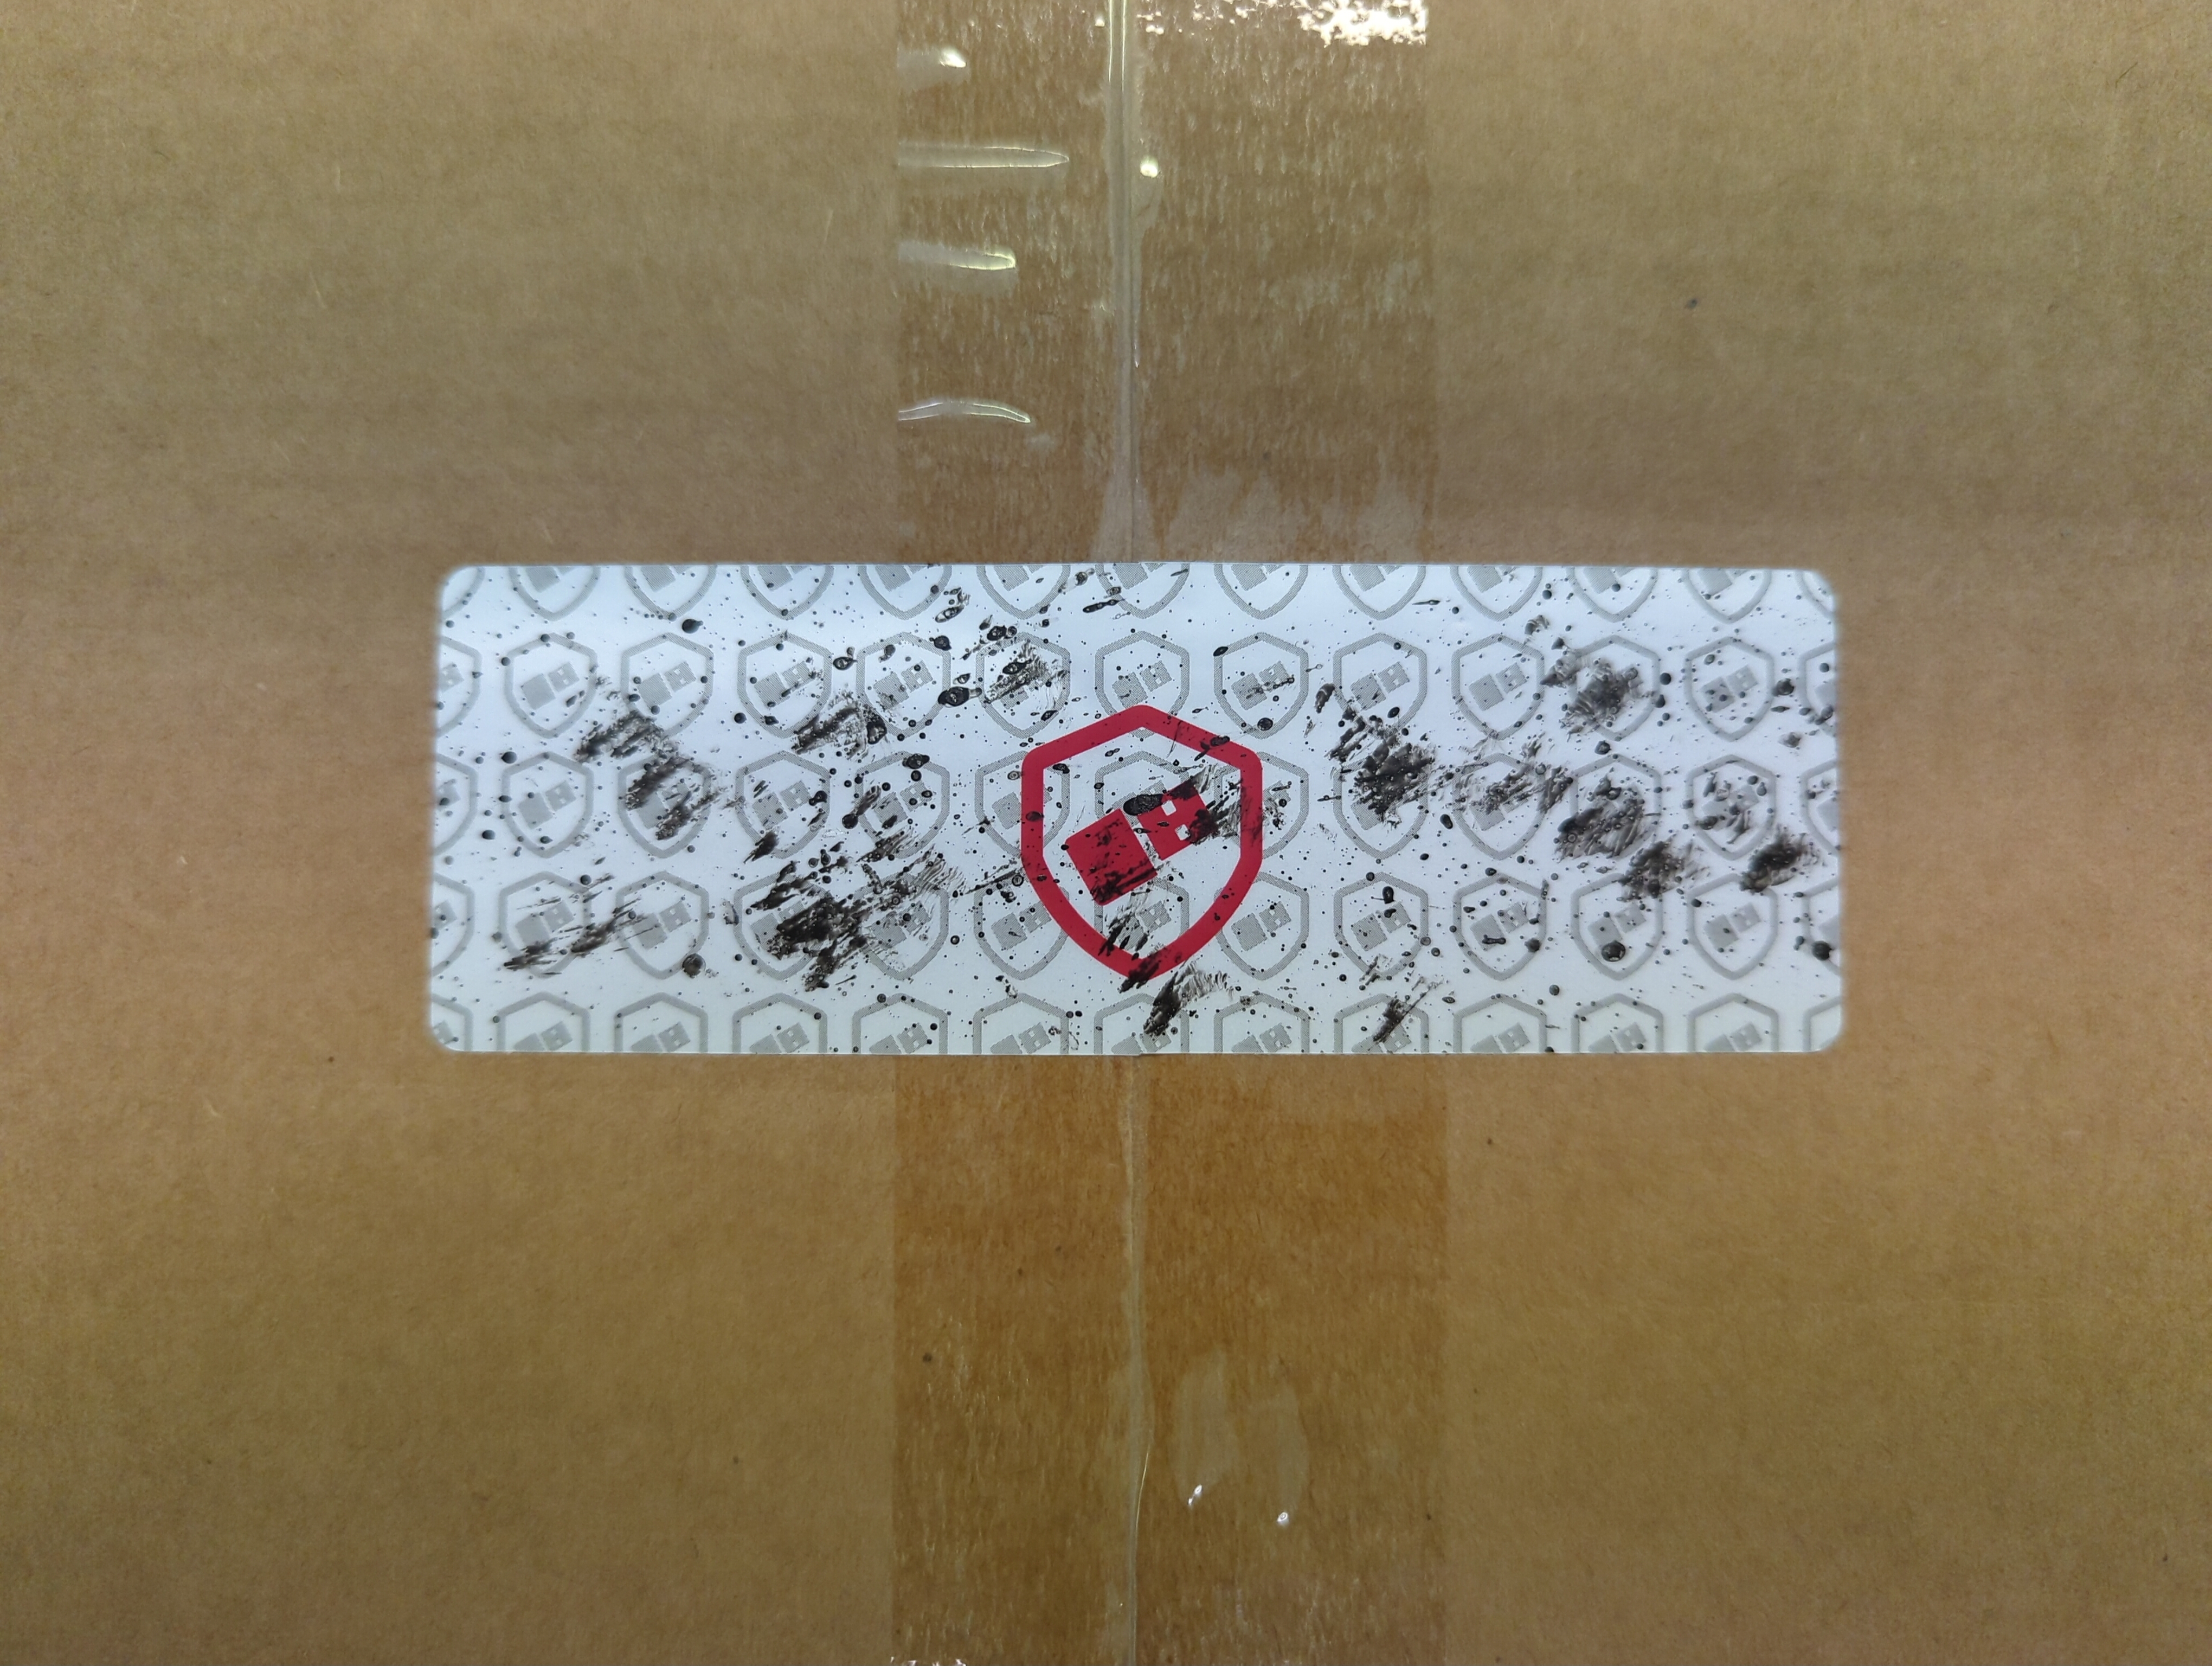
Seal on the bottom of the box
After verifying that the seals on the box are intact, open the box and remove the NetHSM hardware. Then check the two security seals on the NetHSM hardware itself.

Positions of the two seals on the NetHSM hardware
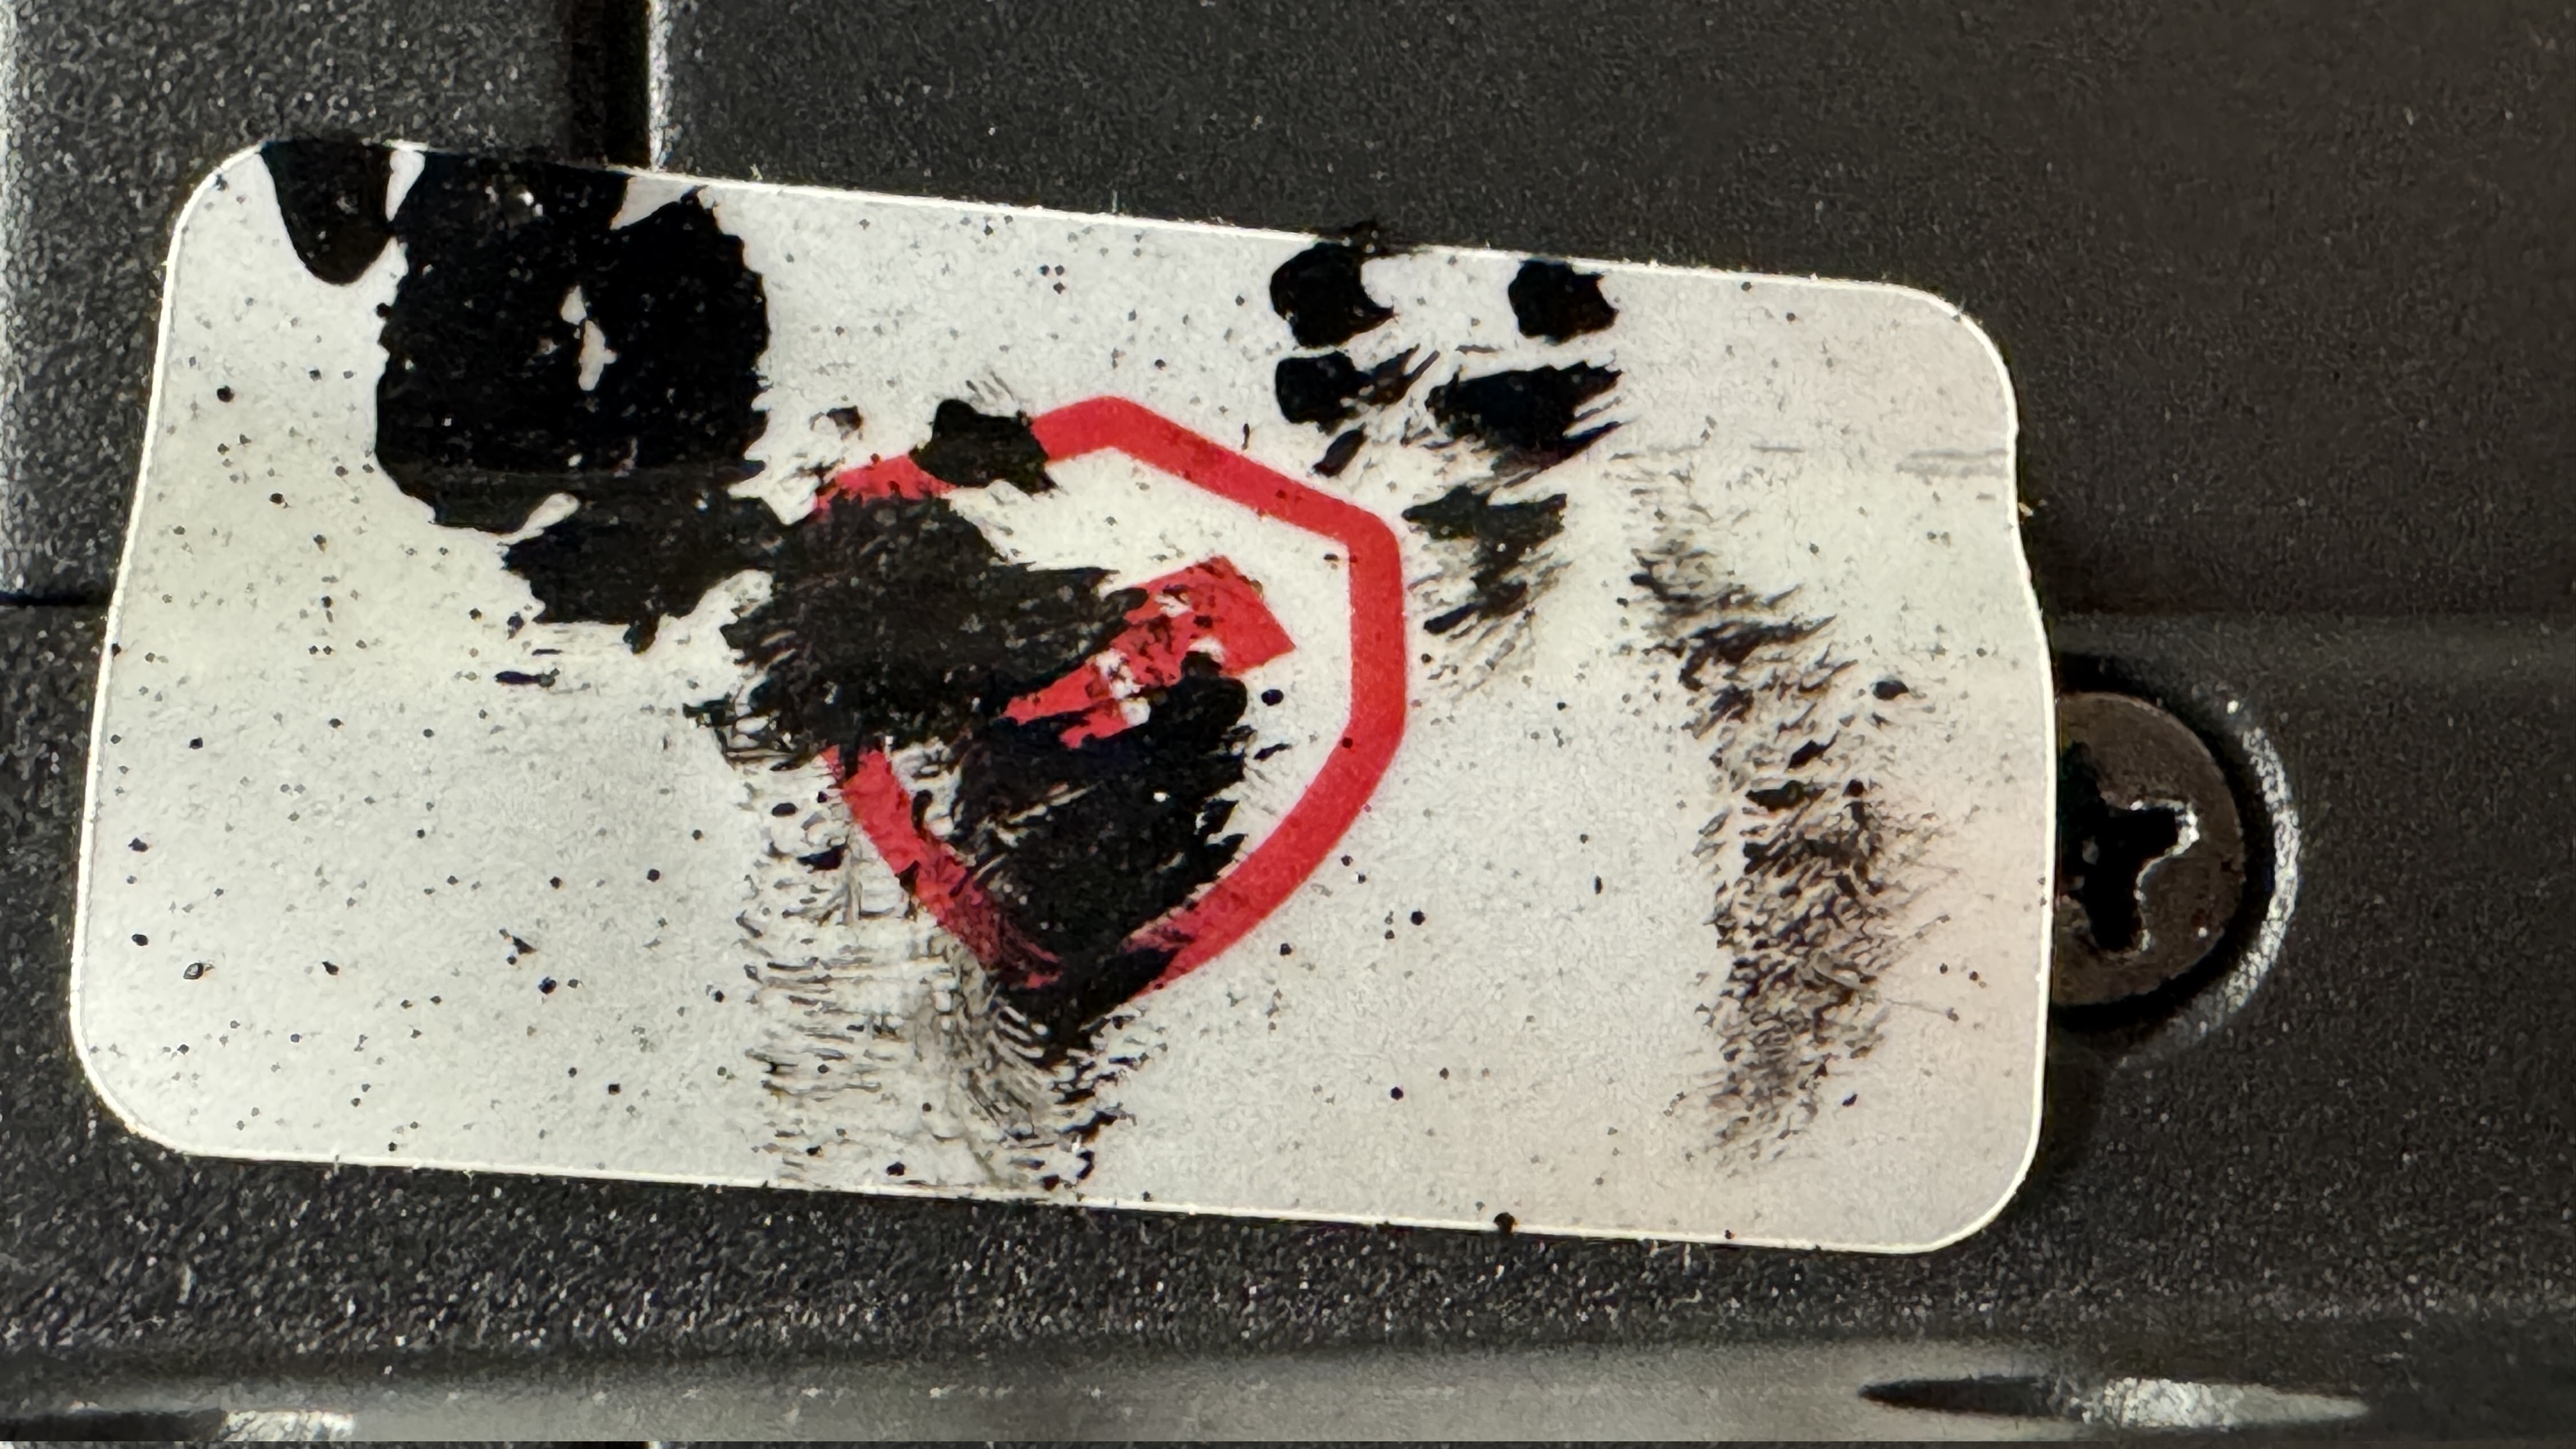
Security seal on the front side of the NetHSM hardware
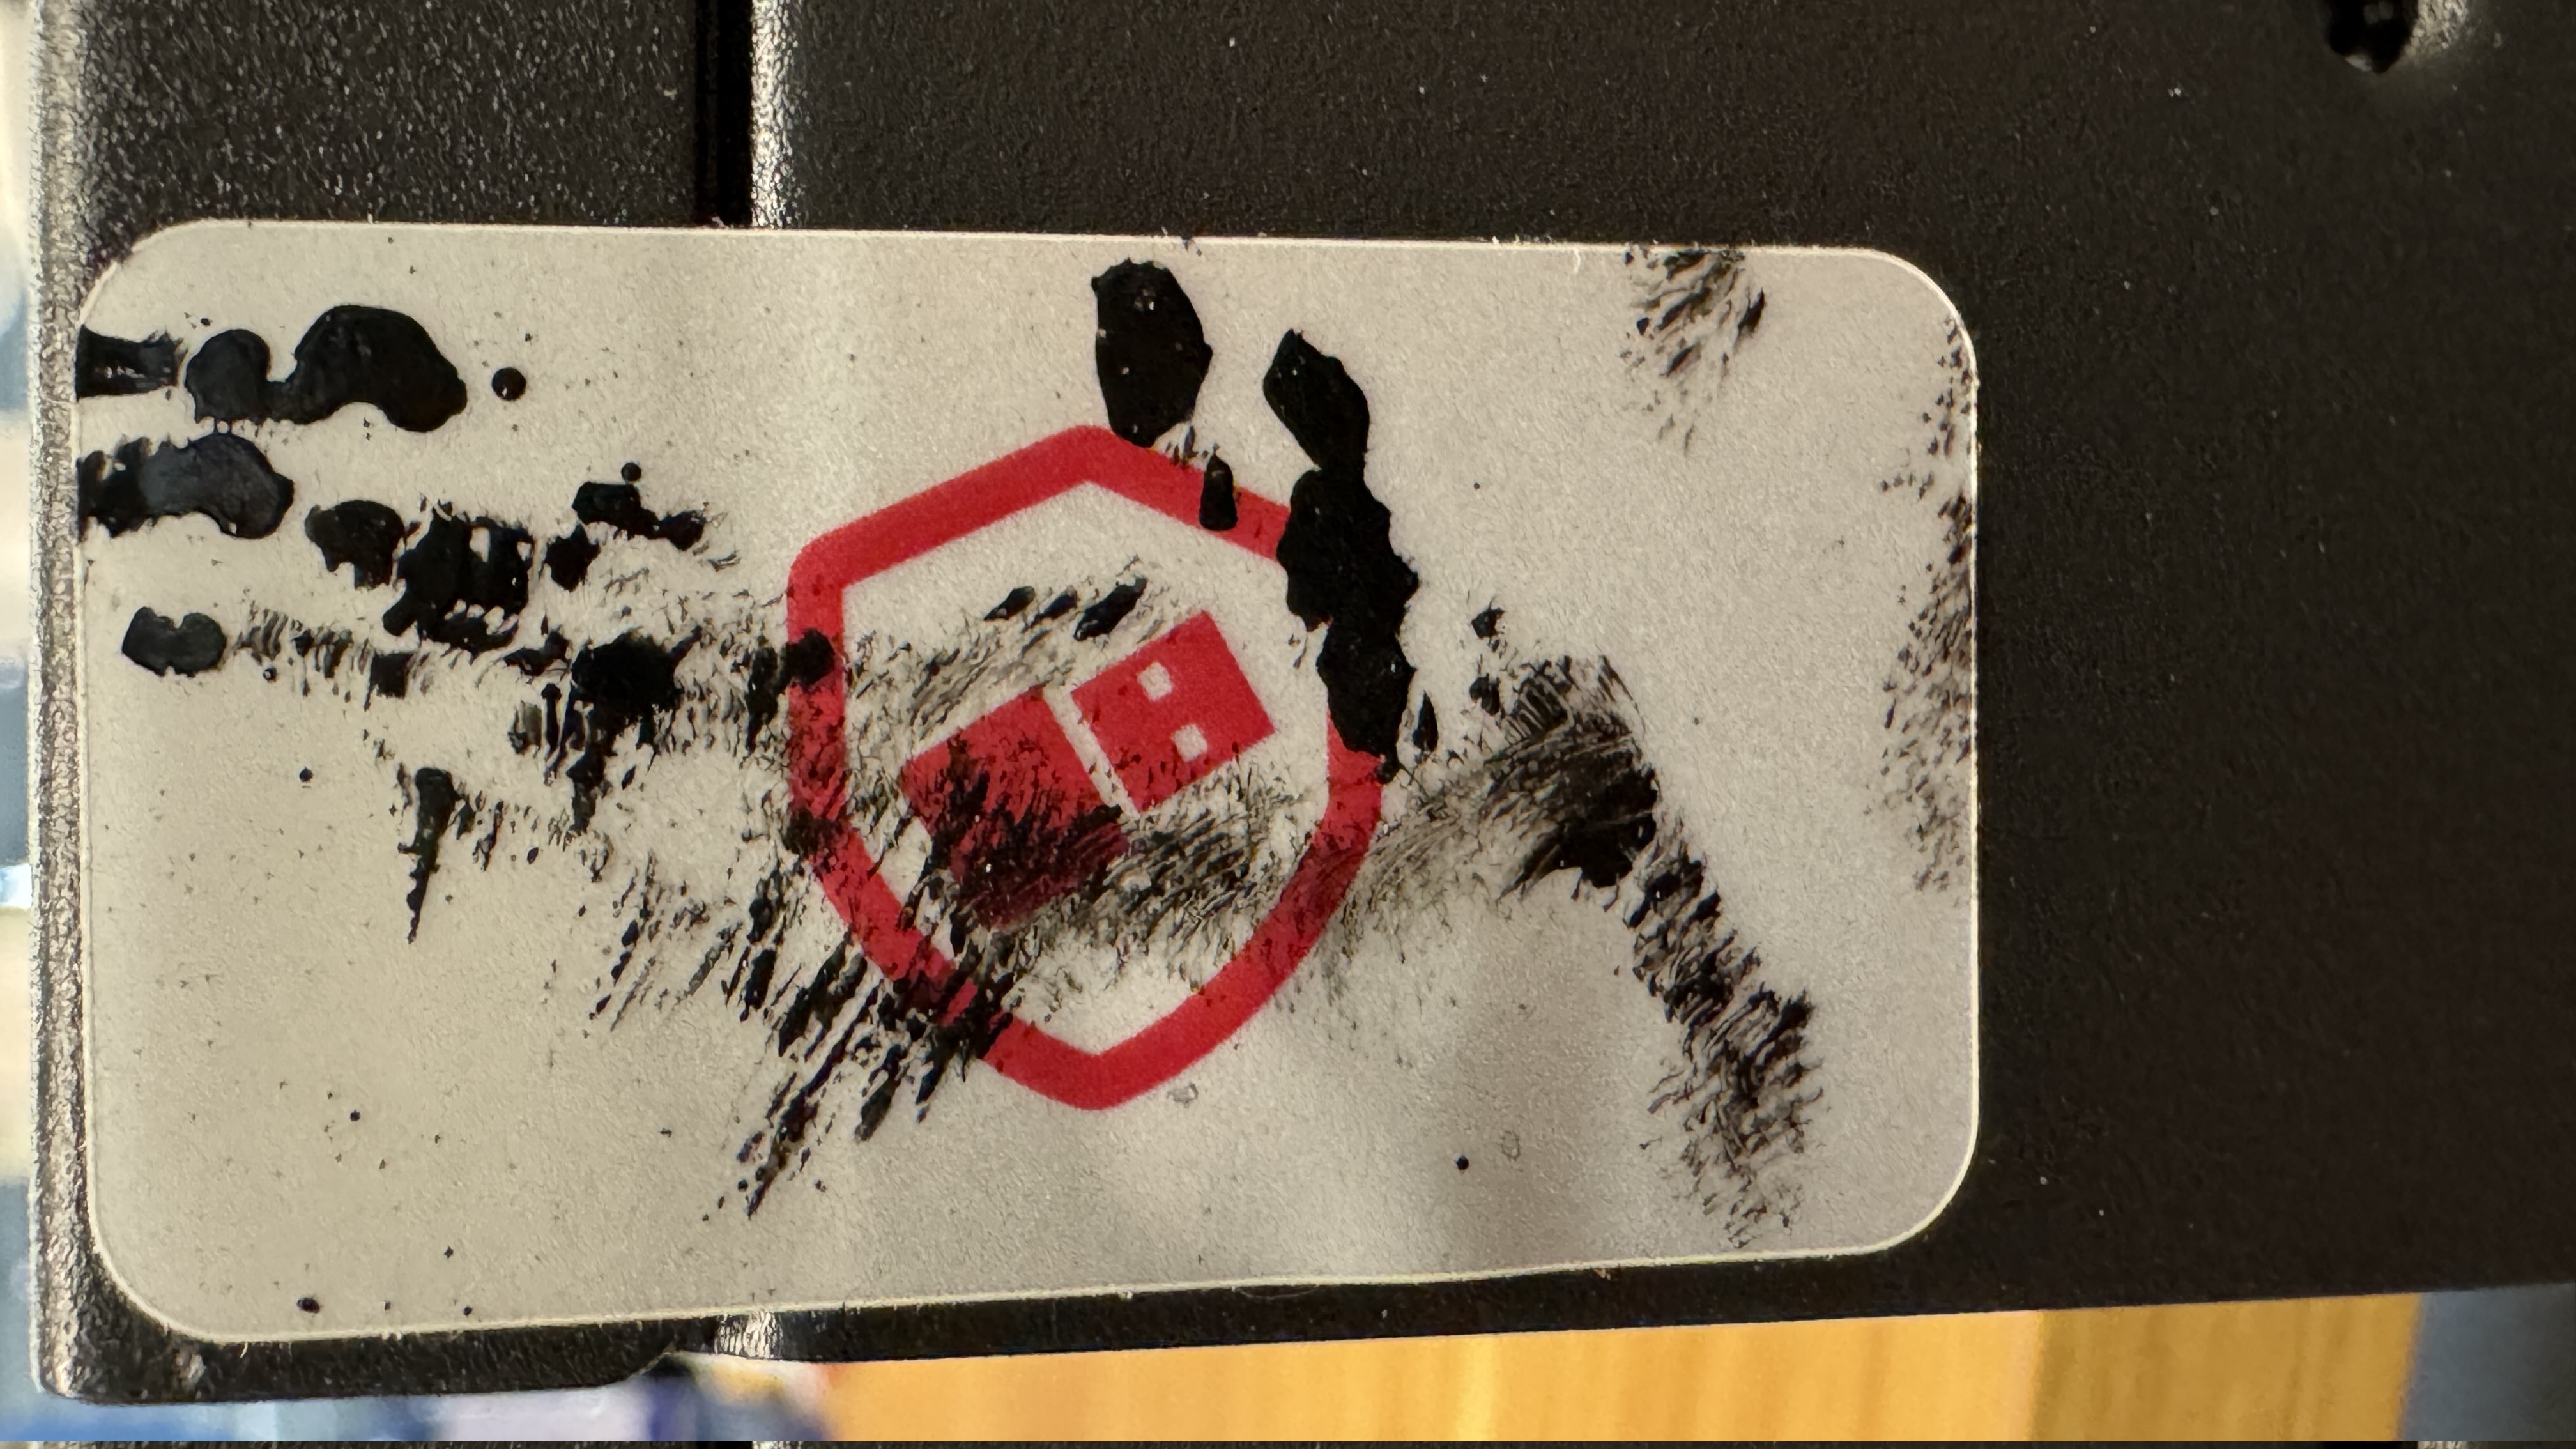
Security seal on the end side of the NetHSM hardware
If you notice that a seal has been altered, please contact us to arrange further action.
Hardware Installation
The NetHSM hardware chassis is designed to be rack mounted. Please make sure it is installed in a compatible rack. Please follow the two step process closely to install the NetHSM hardware.
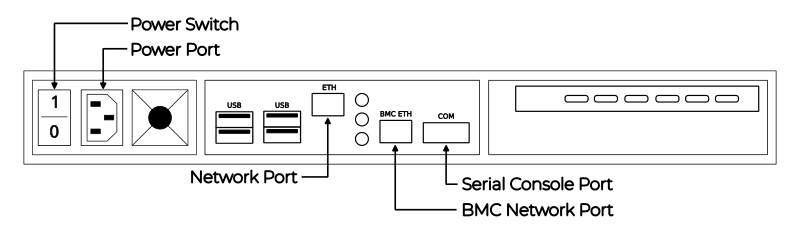
Connect the power cable with the Power Port, and the network cable with the Network Port. Further, press the Power Switch to turn on power.
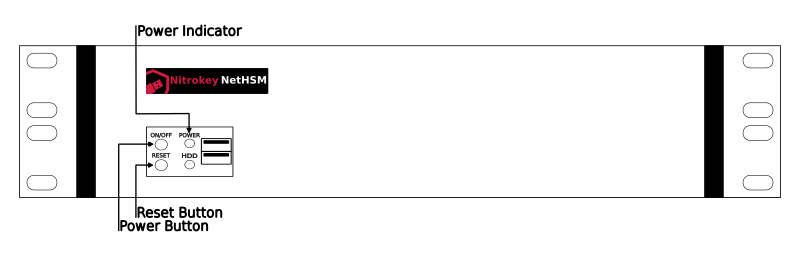
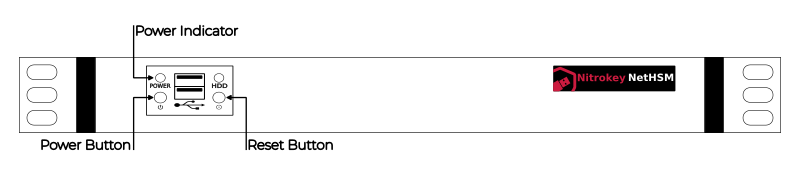
Press the Power Button to turn on the NetHSM hardware. The Reset Button is only for a forced reboot of the NetHSM hardware. If the NetHSM hardware is running, the Power Indicator on the front will light.
Warning
Do not use the BMC Network Port because it allows wider system access.
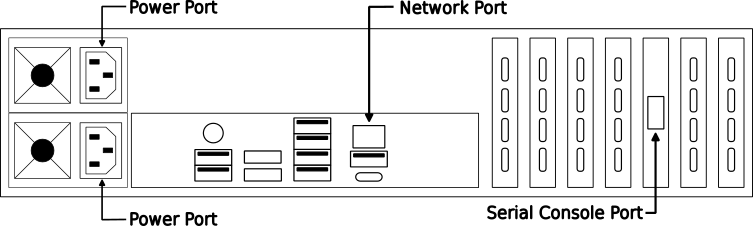
In an unprovisioned state the NetHSM hardware factory default IP address is 192.168.1.1.
You can test the connection to a new NetHSM either by ping 192.168.1.1 or by opening 192.168.1.1 in a web browser which requires allowing a security exception because of an invalid, self-signed certificate.
Provisioning
A new or otherwise Unprovisioned NetHSM needs to be provisioned first with passphrases and the current time. The Admin Passphrase is for the first user account, which is the superuser of the NetHSM. The Unlock Passphrase is used to decrypt NetHSM’s User Data.
Warning
The unlock passphrase cannot be reset without knowing the current value. If the unlock passphrase is lost, neither can it be reset to a new value nor can the NetHSM be unlocked.
The initial provisioning is executed as follows.
Optional Options
Option |
Description |
|---|---|
|
The system time to set (Format: |
Note
If the time is not passed manually, it will be derived from the system nitropy is running on. If the time is passed manually, make sure to pass the time in UTC timezone.
Example
This example contains the parameter –no-verify-tls because typically at this stage the NetHSM uses a self-signed certificate.
$ nitropy nethsm --host $NETHSM_HOST --no-verify-tls provision
Unlock passphrase:
Repeat for confirmation:
Admin passphrase:
Repeat for confirmation:
Warning: The unlock passphrase cannot be reset without knowing the current value. If the unlock passphrase is lost, neither can it be reset to a new value nor can the NetHSM be unlocked.
NetHSM localhost:8443 provisioned
Information about the /provision endpoint can be found in the API documentation.
Warning
The default boot mode is Attended Boot. Please refer to chapter Boot Mode to learn more.