Desktop Login And Linux User Authentication
Compatible Nitrokeys |
|||||||
|---|---|---|---|---|---|---|---|
✓ active |
✓ active |
⨯ inactive |
⨯ inactive |
✓ active |
⨯ inactive |
⨯ inactive |
✓ active |
Introduction
This guide will walk you through the configuration of Linux to use FIDO Universal 2nd Factor, i.e. FIDO U2F with libpam-u2f and Nitrokey FIDO2.
If you want to login to you computer using Nitrokey Pro 2, Nitrokey Storage 2 and Nitrokey Start you can visit the instructions available here.
Requirements
Ubuntu 20.04 with Gnome Display Manager.
Nitrokey FIDO2 configured following these instructions.
Instructions
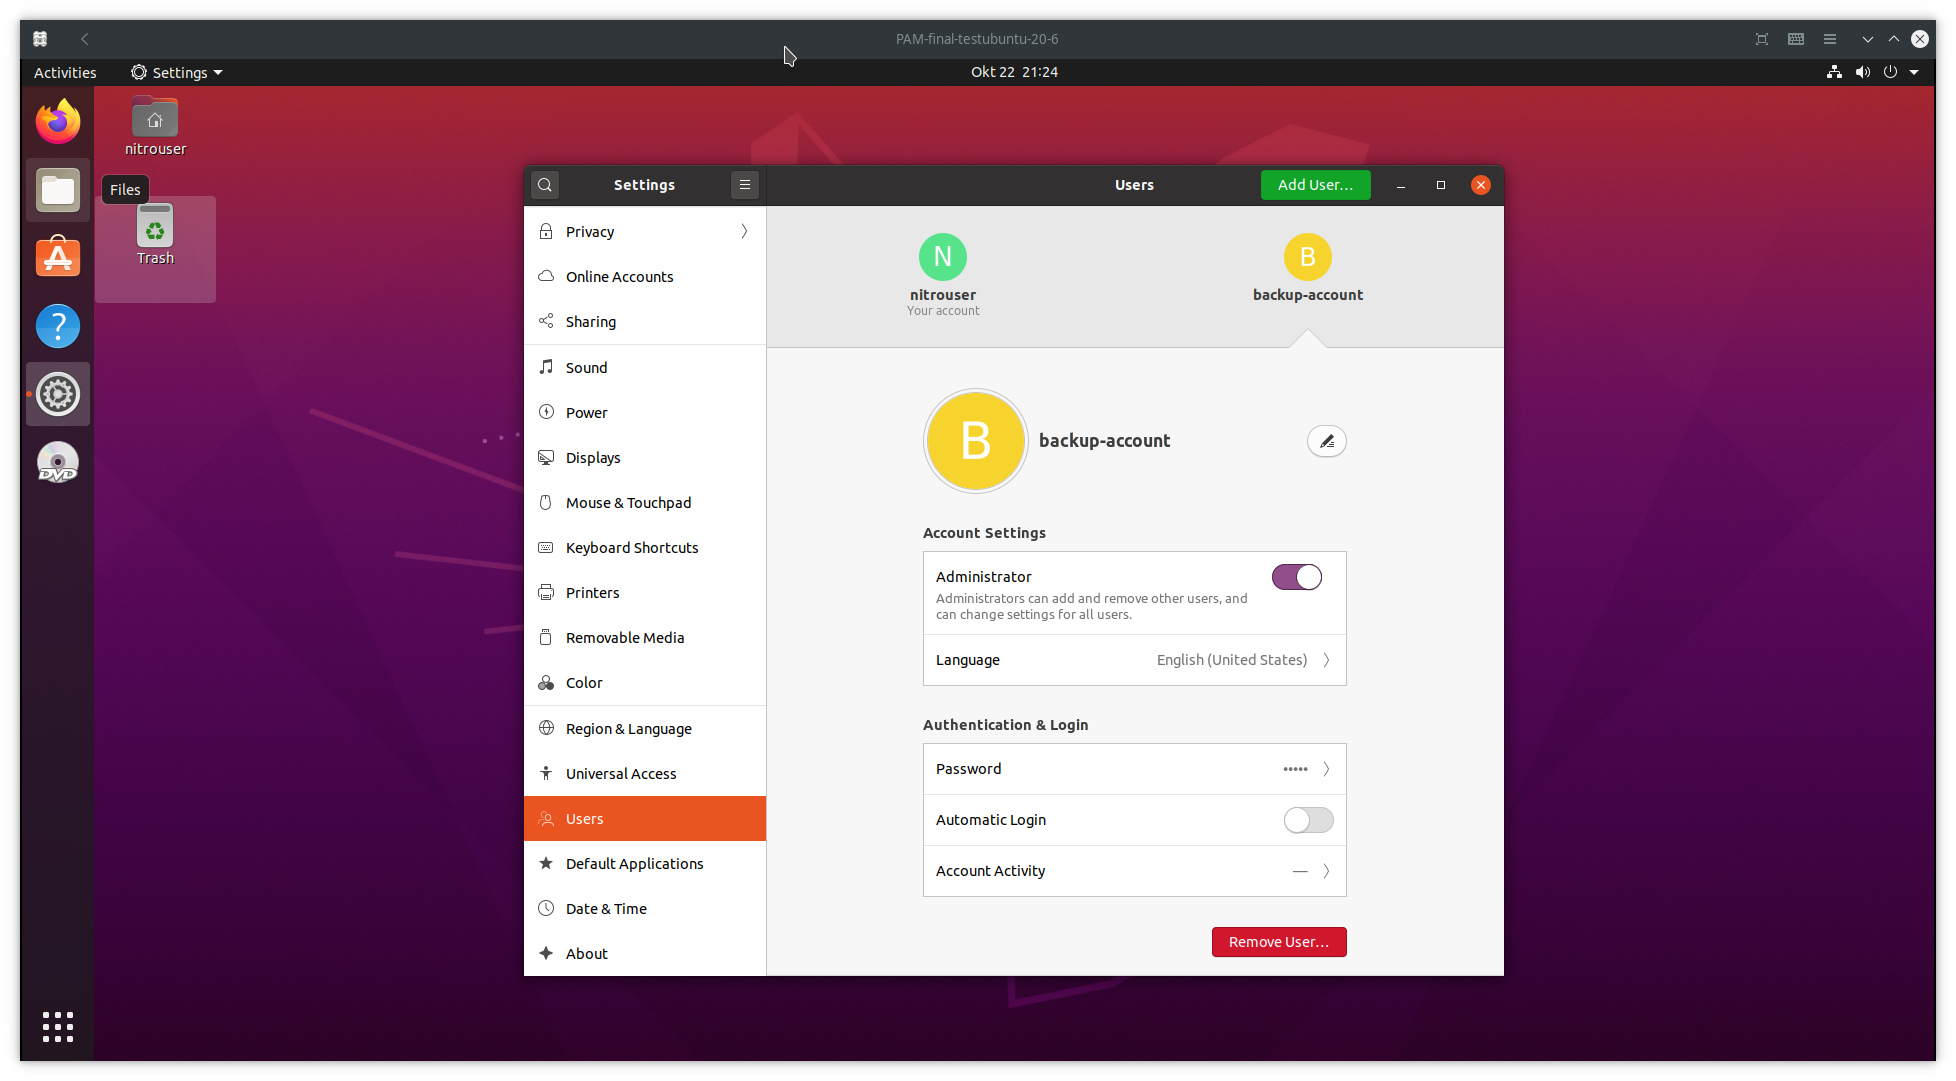
GUI Method
In the lower left corner click on
Show Applicationsand type settings in the search bar as following: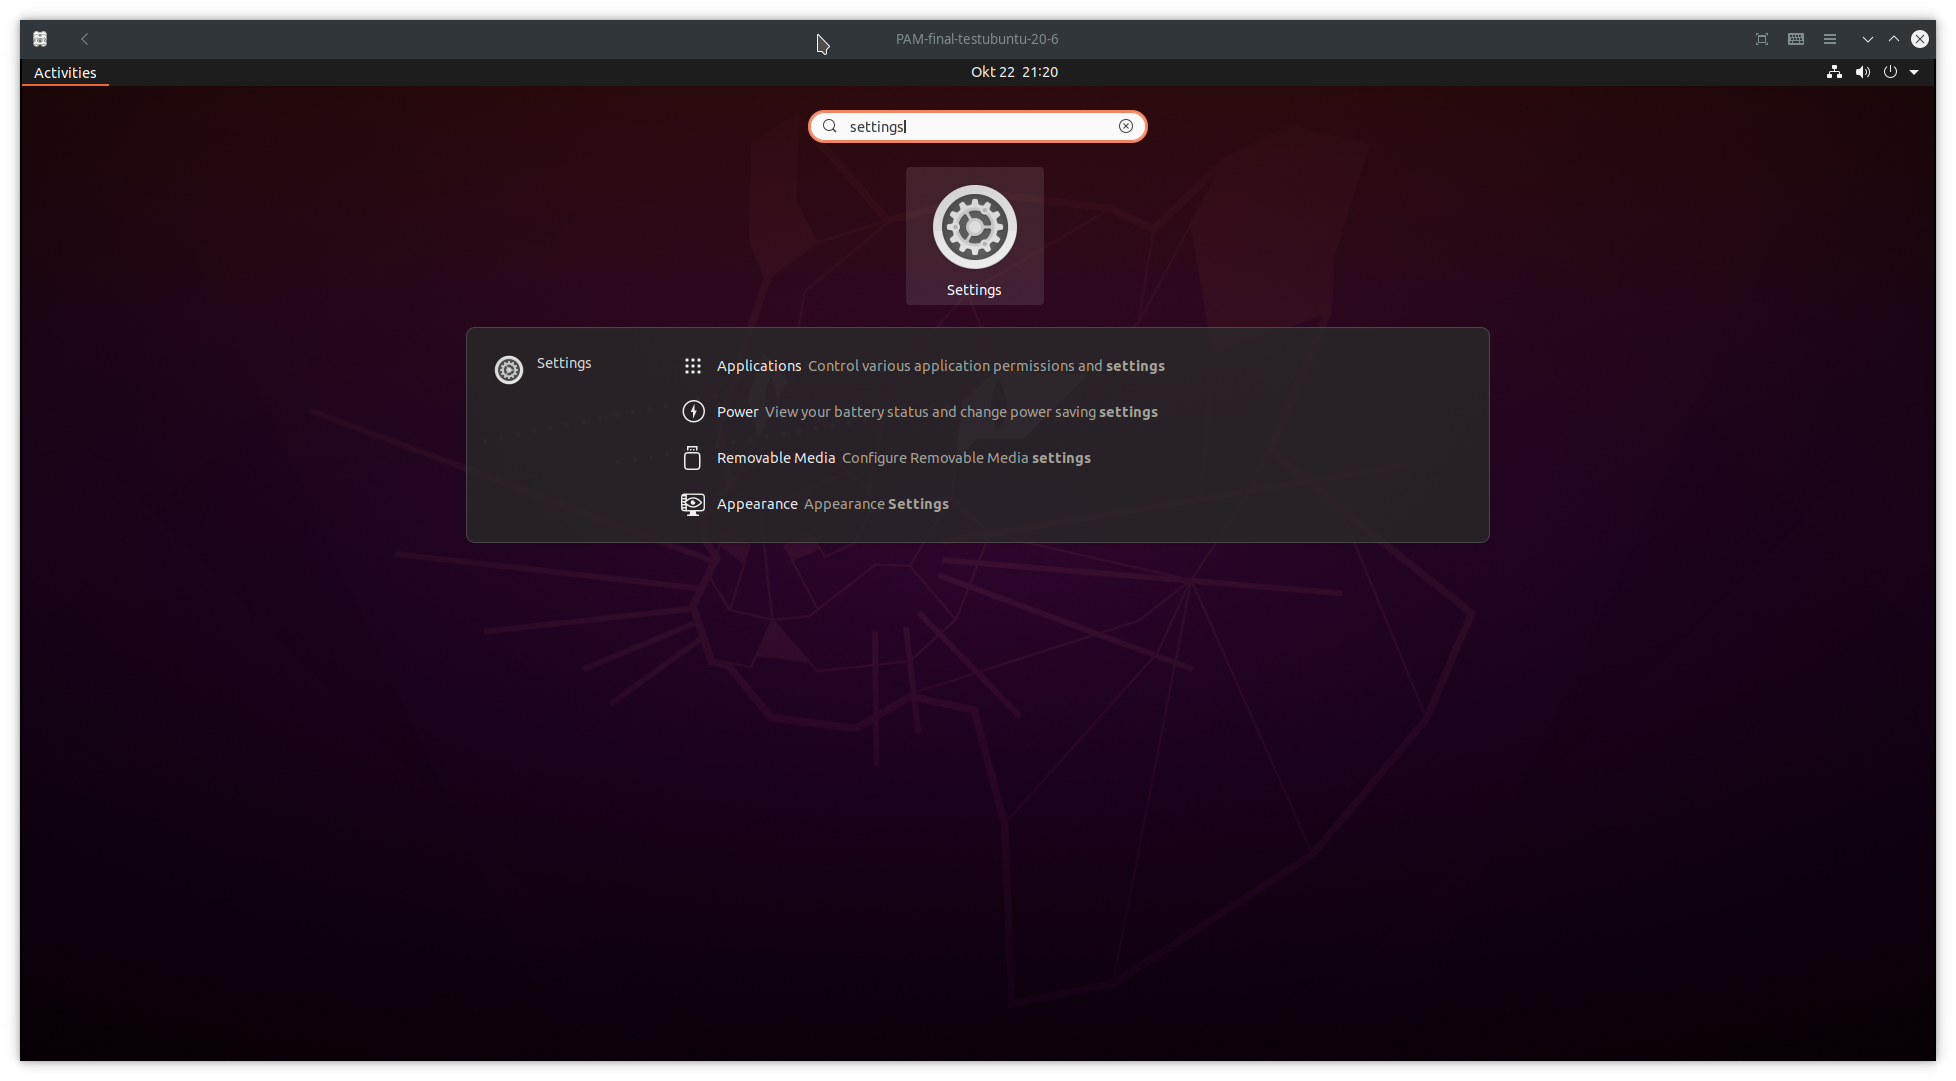
Scroll down in the right bar to
Users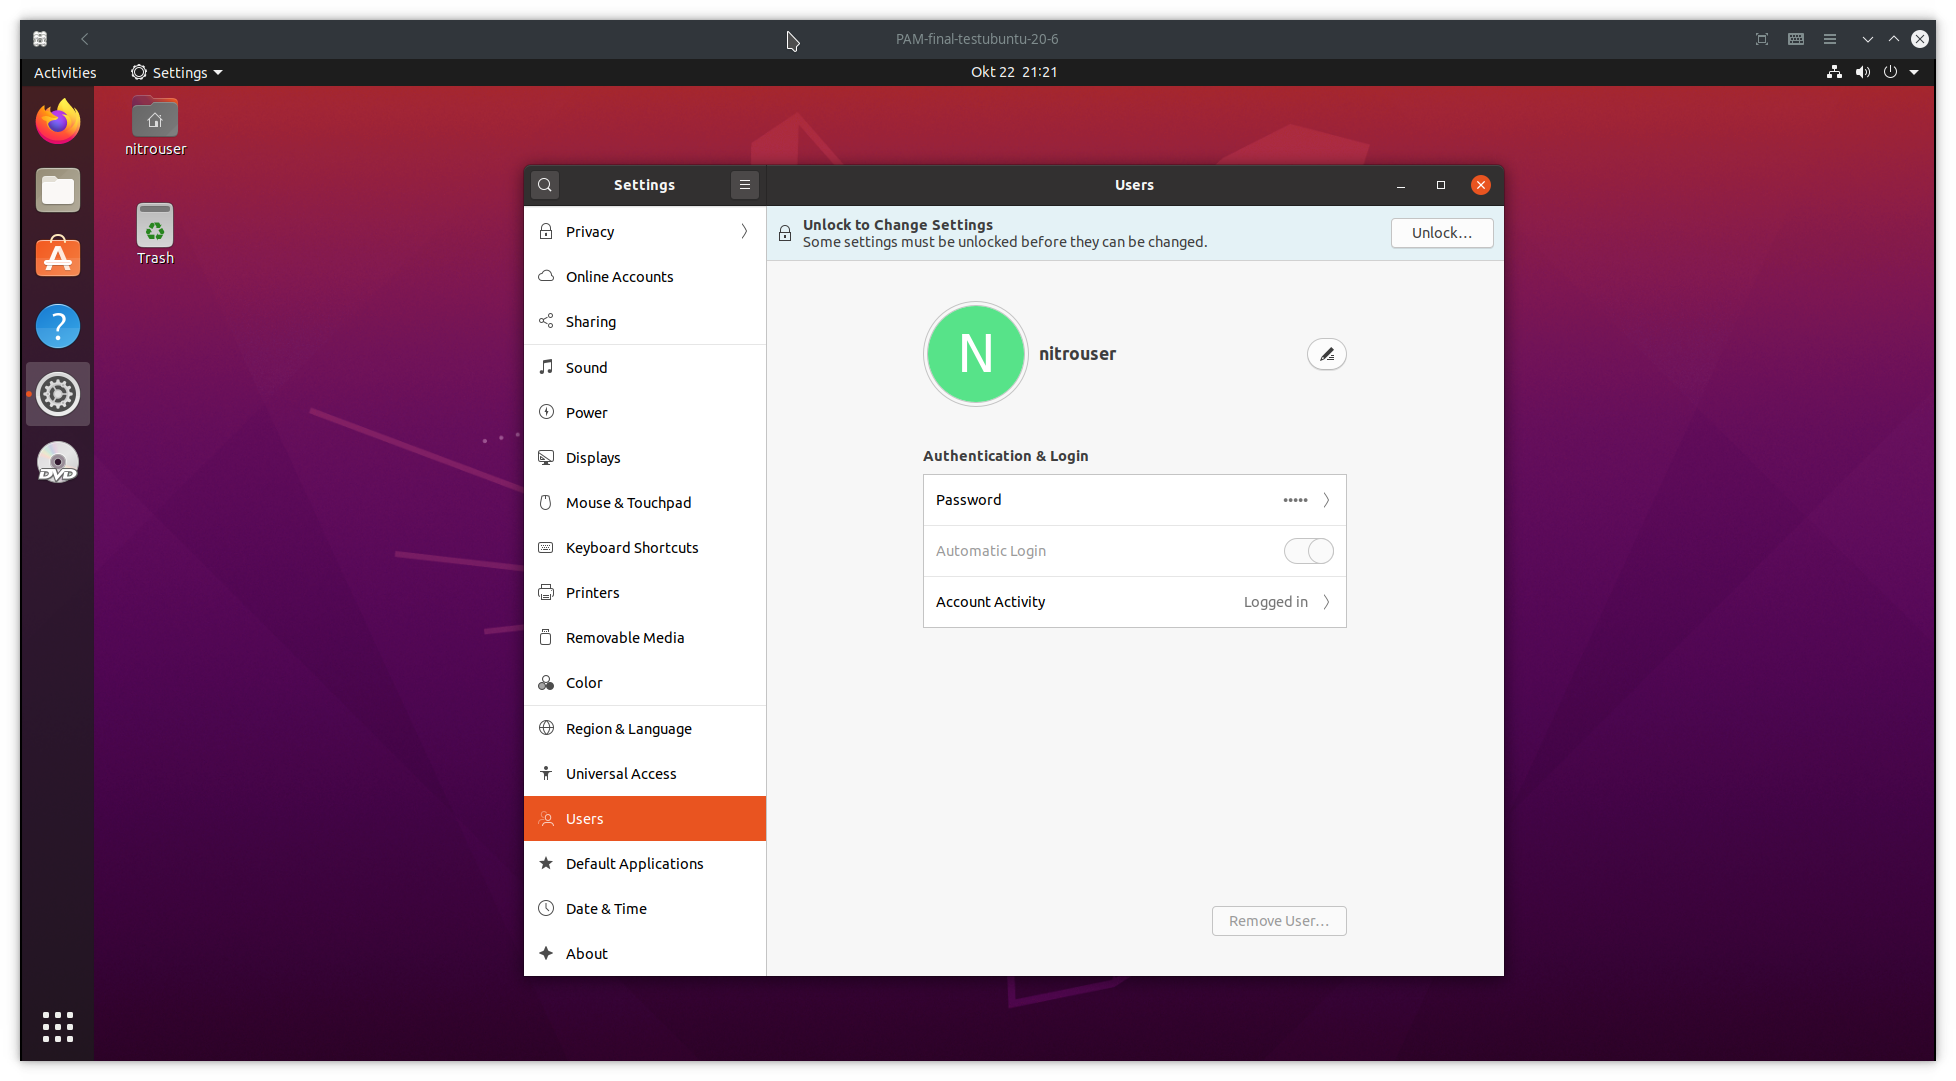
In the left corner click on
Unlockand that would prompt for your password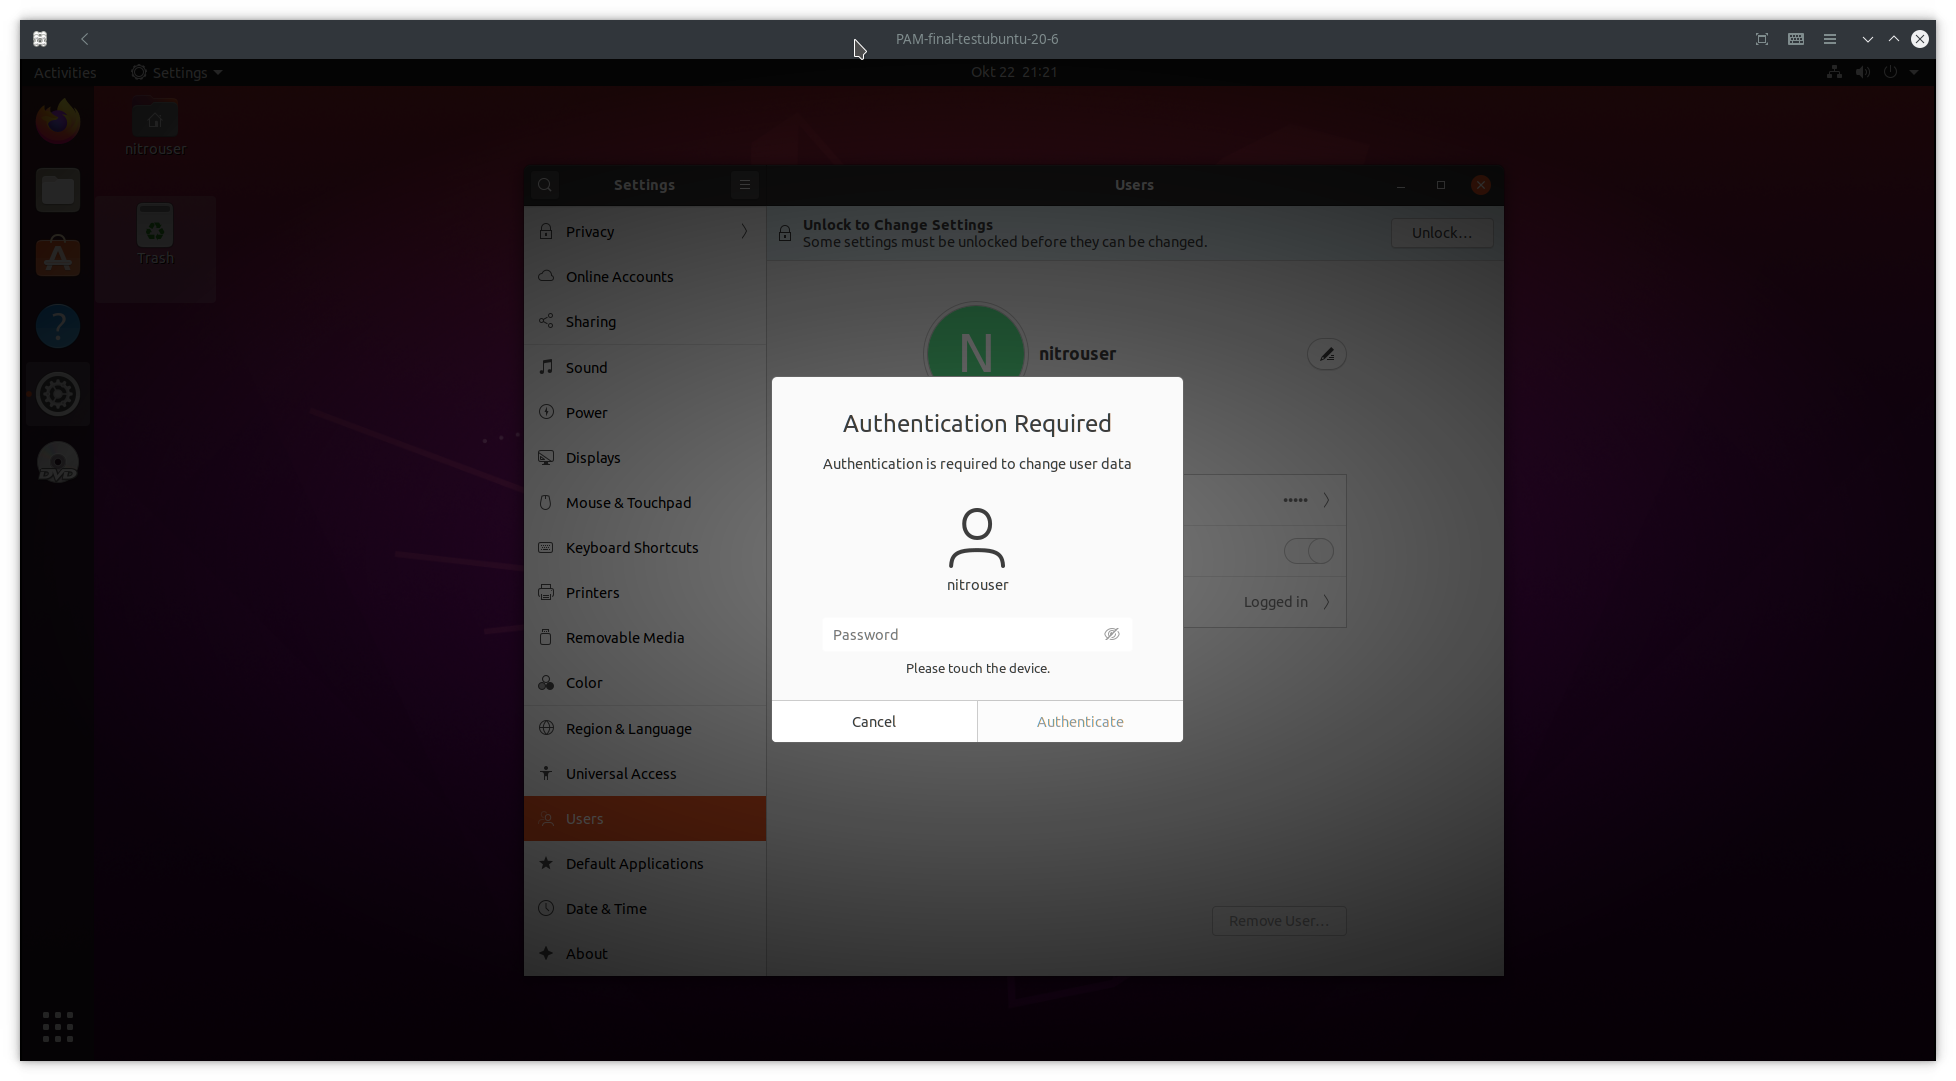
Select
Administratorand enter the user name and password of your choice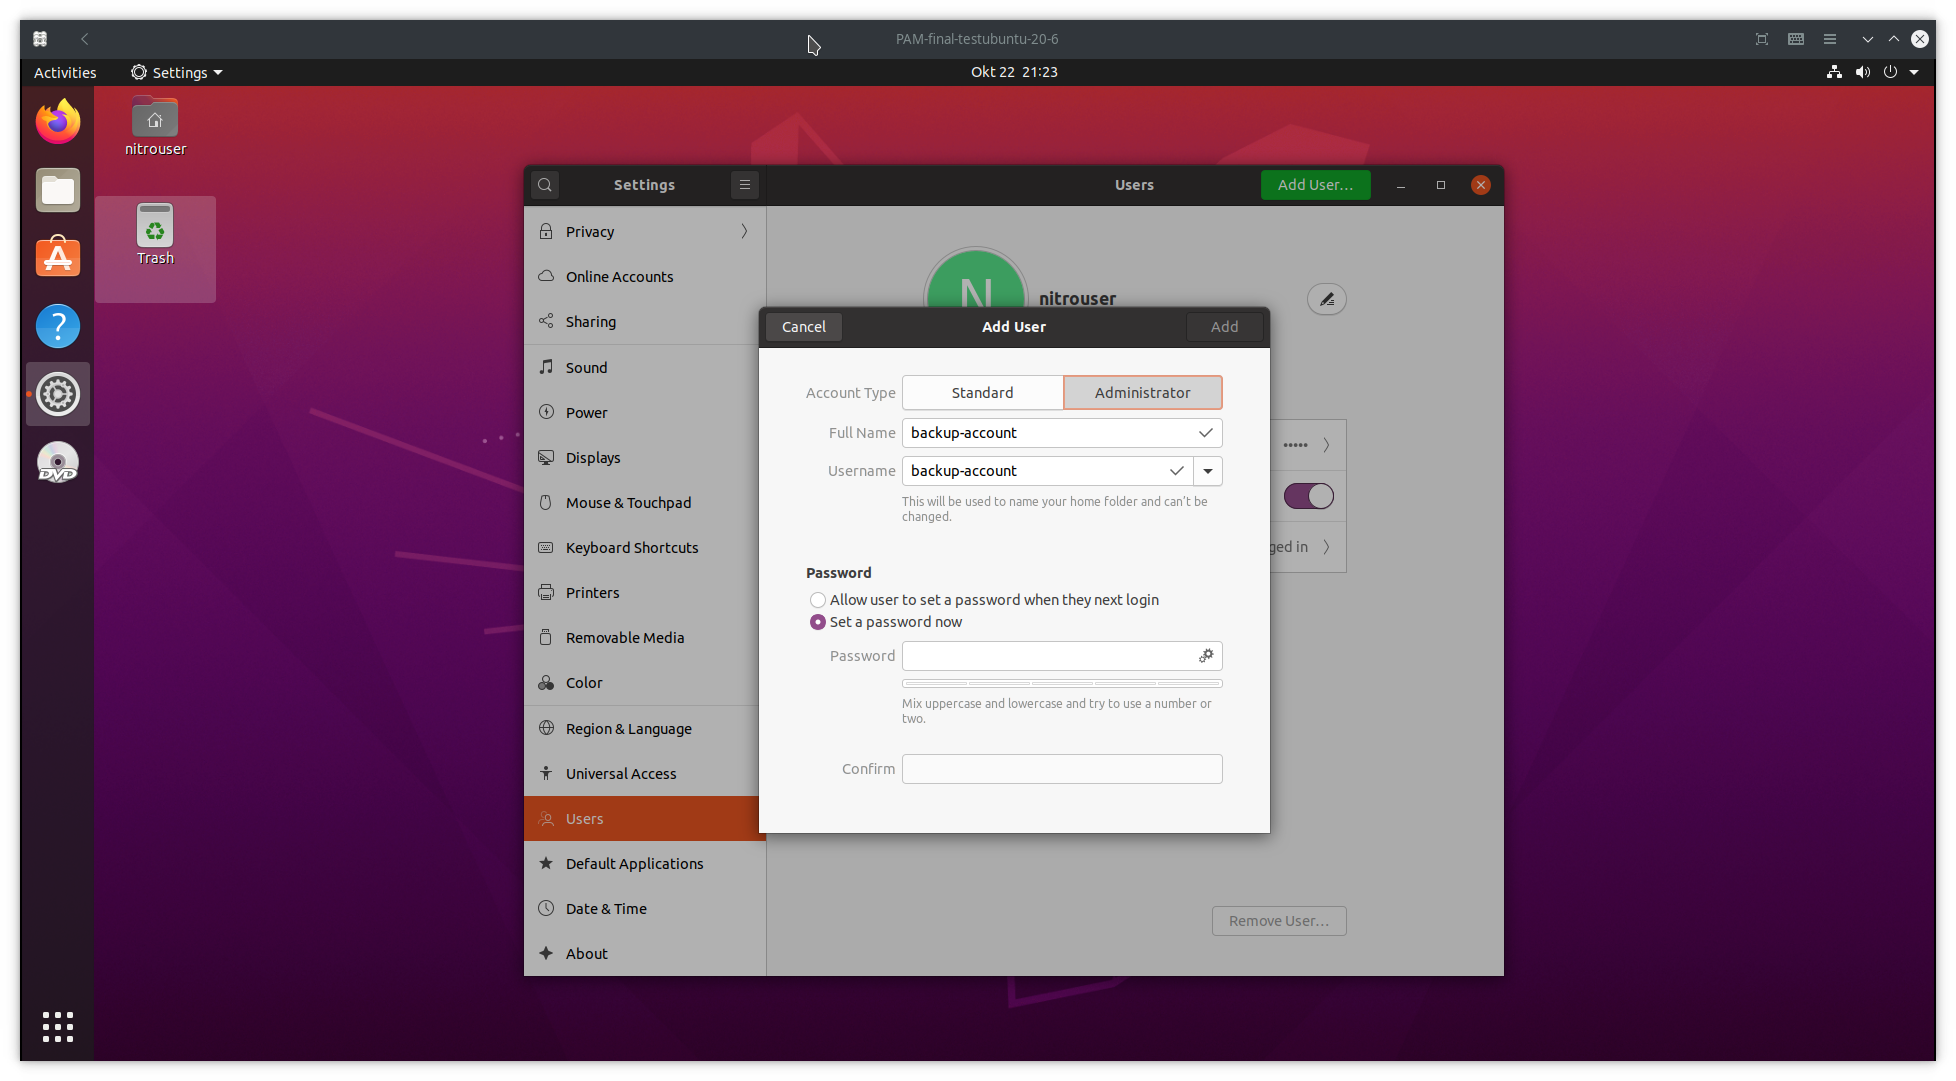
Once you finish Step 4 you should be done
CLI Method
Create a backup user and give it root privileges
You can do so by using these commands:
$ sudo adduser <backup_user>
$ sudo usermod -aG sudo <backup_user>
In case you prefer to setup U2F for a single user, and are locked out of your user session, you would still be able to login with the
<backup_user>, and proceed with the maintenance.Warning
The following guide can potentially lock you out of your computer. You should be aware of these risks, as it is recommended to first use the instructions below on a secondary computer, or after a full backup.
You might lose access to your data after configuring PAM modules.
Set up the
rulesto recognize the Nitrokey FIDO2Under
/etc/udev/rules.ddownload41-nitrokey.rules$ cd /etc/udev/rules.d/ $ sudo wget https://raw.githubusercontent.com/Nitrokey/nitrokey-udev-rules/main/41-nitrokey.rules
And restart
udevservice$ sudo systemctl restart udev
Install
libpam-u2fOn Ubuntu 20.04 it is possible to download directly
libpam-u2ffrom the official repos$ sudo apt install libpam-u2f
Note
Click for more options
Alternatively you can build
libpam-u2ffrom Git.To verify that the library is properly installed enter the following command:
$ file /lib/x86_64-linux-gnu/security/pam_u2f.so
The Output should be something like the following:
/lib/x86_64-linux-gnu/security/pam_u2f.so: \ ELF 64-bit LSB shared object, x86-64, version 1 (SYSV),\ dynamically linked, BuildID[sha1]=1d55e1b11a97be2038c6a139579f6c0d91caedb1, stripped
Prepare the Directory
Create
.config/Nitrokey/under your home directory$ mkdir ~/.config/Nitrokey
And plug your Nitrokey FIDO2.
Once done with the preparation, we can start to configure the computer to use the Nitrokey FIDO2 for 2nd factor authentication at login and
sudo.Generate the U2F config file
To generate the configuration file we will use the
pamu2fcfgutility that comes with thelibpam-u2f. For convenience, we will directly write the output of the utility to theu2f_keysfile under.config/Nitrokey. First plug your Nitrokey FIDO2 (if you did not already), and enter the following command:$ pamu2fcfg > ~/.config/Nitrokey/u2f_keys
Once you run the command above, you will need to touch the device while it flashes. Once done,
pamu2fcfgwill append its output theu2f_keysin the following format:<username>:Zx...mw,04...0a
Note, the output will be much longer, but sensitive parts have been removed here. For better security, and once the config file generated, we will move the
.config/Nitrokeydirectory under theetc/directory with this command:$ sudo mv ~/.config/Nitrokey /etc
Tip
The file under
.config/Nitrokeymust be namedu2f_keysIt is recommended to first test the instructions with a single user. For this purpose the previous command takes the
-uoption, to specify a user, like in the example below:$ pamu2fcfg -u <username> > ~/.config/Nitrokey/u2f_keys
For individual user configuration you should point to the home directory in the next step, or not include the
authfileoption in the PAM configuration.
Backup
This step is optional, however it is advised to have a backup Nitrokey in the case of loss, theft or destruction of your Nitrokey FIDO.
To set up a backup key, repeat the procedure above, and use
pamu2fcfg -n. This will omit the<username>field, and the output can be appended to the line with your<username>like this:<username>:Zx...mw,04...0a:xB...fw,04...3f
Modify the Pluggable Authentication Module
PAMThe final step is configure the PAM module files under
/etc/pam.d/. In this guide we will modify thecommon-authfile as it handles the authentication settings which are common to all services, but other options are possible. You can modify the file with the following command:$ cd /etc/pam.d $ sudo $editor common-auth
And add the following lines at the top of the file:
#Nitrokey FIDO2 config
auth    sufficient pam_u2f.so authfile=/etc/Nitrokey/u2f_keys cue [cue_prompt=Please touch the device.] prompt nouserok
Tip
Since we are using Central Authentication Mapping, we need to tell
pam_u2fthe location of the file to use with theauthfileoption.If you often forget to insert the key,
promptoption makepam_u2fprintInsert your U2F device, then press ENTER.and give you a chance to insert the Nitrokey.If you would like to be prompted to touch the Nitrokey,
cueoption will makepam_u2fprintPlease touch the device.message. You can change the message in[cue_prompt=Please touch the device.].nouserok will ensure that you can still login using the username and password, you might want to remove this at some point once the setup is working and you don’t want regular username & password based logins.
Once we modified the
common-auth, we can save and exit the file.You can test the configuration by typing
sudo lsin the terminal. You should be prompted the messagePlease touch the device.and have a similar output on the terminal:nitrouser@nitrouser:~$ sudo ls [sudo] password for nitrouser: Please touch the device.
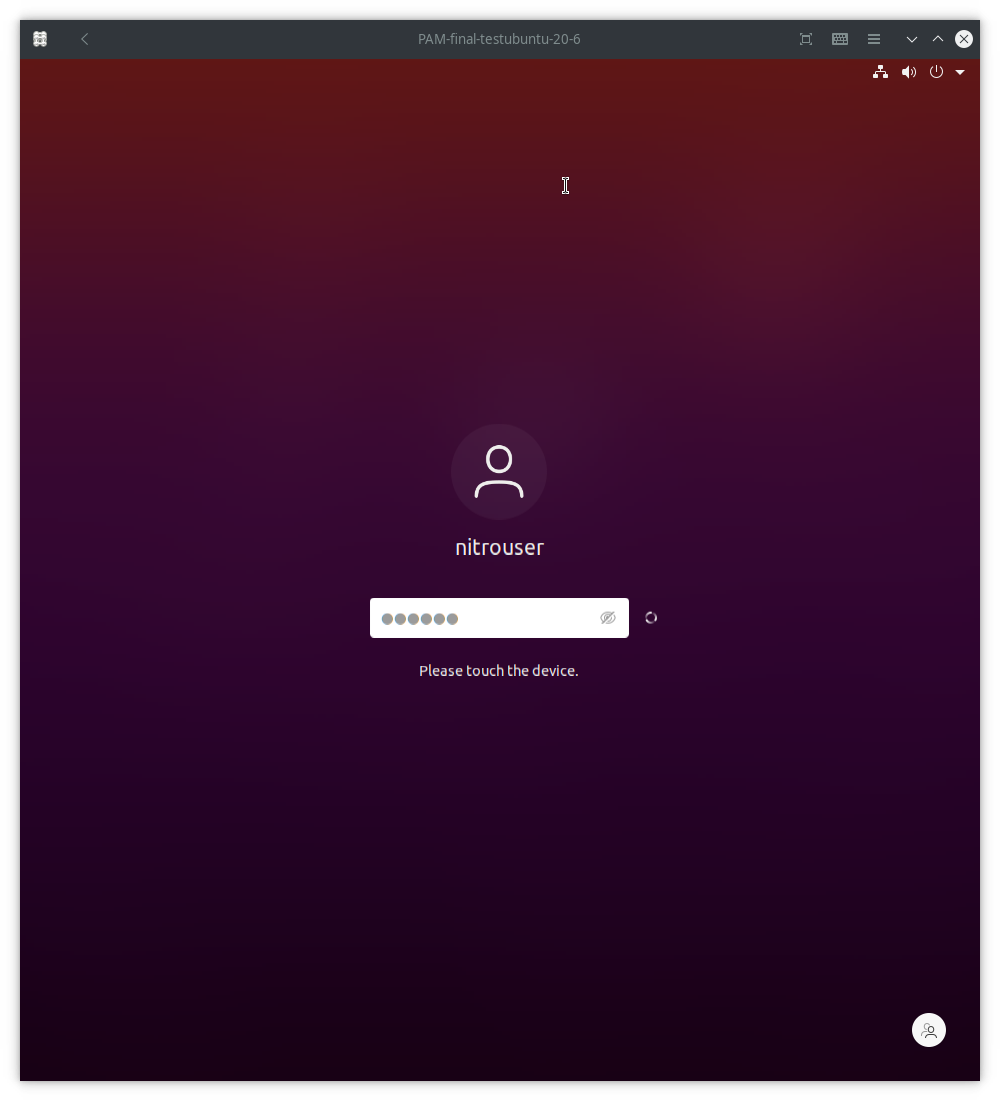
You can also test your configuration by logging out of the user session and logging back. A similar screen should be displayed once you you unplug/replug yout Nitrokey FIDO2 and type your password:
Usage
After the PAM module modification, you will be able to test your configuration right away, but it is recommended to reboot your computer, and unplug/replug the Nitrokey FIDO2.
Once you have properly tested the instructions in this guide (and set up a backup), it is recommended to use either the required or the requisite control flag instead of sufficient.
The flags required and requisite provide a tighter access control, and will make the Nitrokey FIDO2 necessary to login, and/or use the configured service.
If you need more information about Control Flags in the PAM
configuration line, you may see the last section of this guide to understand the difference, and the implications of using each of them.
PAM Modules
There are several PAM modules files that can be modified according to your needs:
By modifying
/etc/pam.d/common-authfile, you will be able to use you Nitrokey FIDO for 2nd factor authentication for graphic login andsudo. Note:common-authshould be modified by adding the additional configuration line at the end of the file.If you wish to use FIDO U2F authentication solely for Gnome’s graphic login, you might prefer to modify the
/etc/pam.d/gdm-passwordAlternatively you can just modify the
/etc/pam.d/sudofile if you wish to use FIDO U2F when using thesudocommand.
Control Flags
In step 7 we have used the sufficient control flag to determine the behavior of the PAM module when the Nitrokey is plugged or not. However it is possible to change this behavior by using the following control flags:
required: This is the most critical flag. The module result must be successful for authentication to continue. This flag can lock you out of your computer if you do not have access to the Nitrokey.requisite: Similar torequiredhowever, in the case where a specific module returns a failure, control is directly returned to the application, or to the superior PAM stack. This flag can also lock you out of your computer if you do not have access to the Nitrokey.sufficient: The module result is ignored if it fails. Thesufficientflag considered to be safe for testing purposes.optional: The success or failure of this module is only important if it is the only module in the stack associated with this service+type. Theoptionalflag is considered to be safe to use for testing purposes.
Warning
If
requiredorrequisiteis set, the failure of U2F authentication will cause a failure of the overall authentication. Failure will occur when the configured Nitrokey FIDO is not plugged, lost or destroyed.You will lose access to your computer if you mis-configured the PAM module and used the
requiredorrequisiteflags.You will also lose the ability to use
sudoif you set up Central Authentication Mapping and used therequiredorrequisiteflags.