Thunderbird
Compatible Nitrokeys |
|||||||
|---|---|---|---|---|---|---|---|
✓ active |
⨯ inactive |
⨯ inactive |
✓ active |
⨯ inactive |
✓ active |
✓ active |
⨯ inactive |
Thunderbird 78.3 e più recente
At the moment Thunderbird’s 78 support for the OpenPGP emails is not easy to set up. See Thunderbird’s documentation for details. Here is a comprehensive German guide.
Risoluzione dei problemi
Messaggio di errore: The configured key ID '4BA0183FCBA844A7' cannot be found on your keyring
Make sure that the public key is imported to the Thunderbird’s manager and
L’ID della chiave non contiene spazi bianchi e consiste di 16 caratteri dall’intervallo 0-9 A-F
avete installato il software GPA o Kleopatra.
Si prega di utilizzare Kleopatra o GPA software per gestire la smart card.
Thunderbird 77 e più vecchio
Installazione
Installare il driver del dispositivo come descritto ` qui <https://www.nitrokey.com/documentation/installation>`_.
Installare Thunderbird e l’add-on Enigmail.
Cambiare i PIN
Ci sono due PIN per la Nitrokey:
Il PIN utente necessario per il lavoro quotidiano
Il PIN amministratore è necessario per cambiare i tasti o altre impostazioni del dispositivo. Inoltre, la Nitrokey può essere sbloccata (per esempio, dopo 3 volte l’inserimento errato del PIN utente) per mezzo del PIN amministratore.
Dopo aver ricevuto la Nitrokey, dovete immediatamente cambiare il PIN utente = «123456» e il PIN amministratore = «12345678».
Procedura
Inserisci la Nitrokey in una porta USB del tuo computer.
Avviare Thunderbird.
In Thunderbird, selezionare come mostrato nell’immagine seguente. «OpenPGP» → «Gestisci smart card»
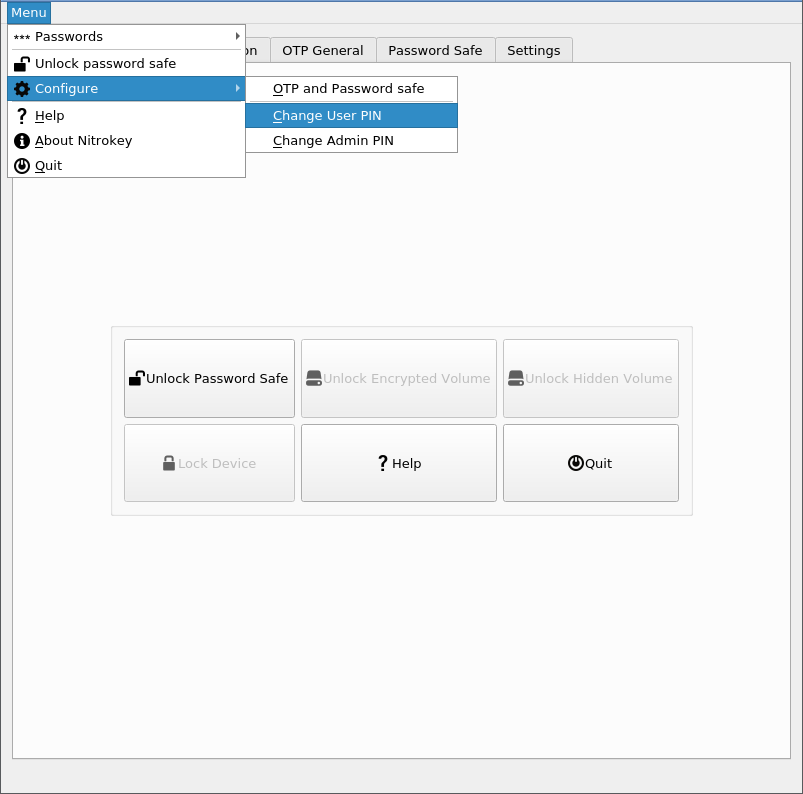
Nella finestra «Dettagli della SmartCard», seleziona «SmartCard → Modifica PIN»
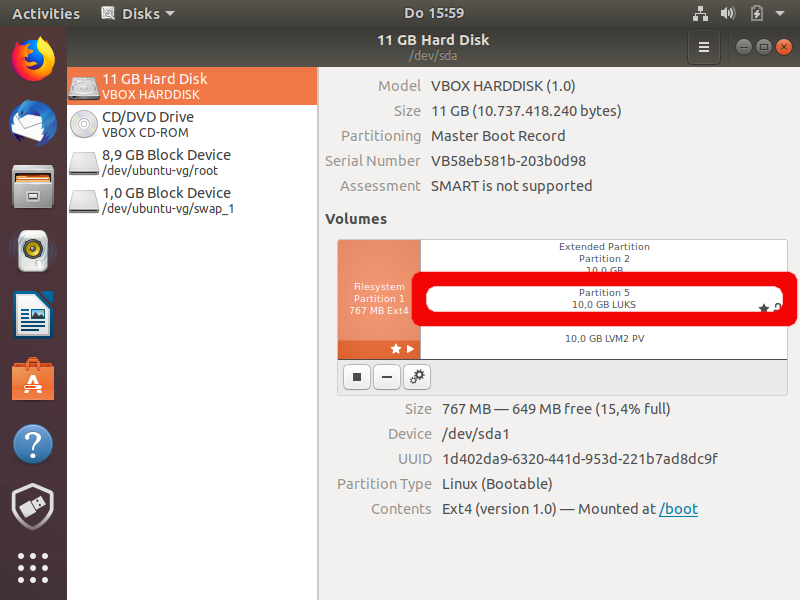
Seleziona «Cambia PIN». Questo è il tuo PIN utente che ti serve per il lavoro quotidiano. Inserisci il PIN attuale («123456» per la consegna) e due volte il tuo nuovo PIN. Per questo PIN puoi usare i caratteri: a-z A-Z 0-9 / .;;:- !? () [] {}% +. Il PIN deve essere lungo almeno 6 caratteri. Clicca su «OK».
Ripetere la procedura per il PIN dell’amministratore. «SmartCard → Modifica PIN»
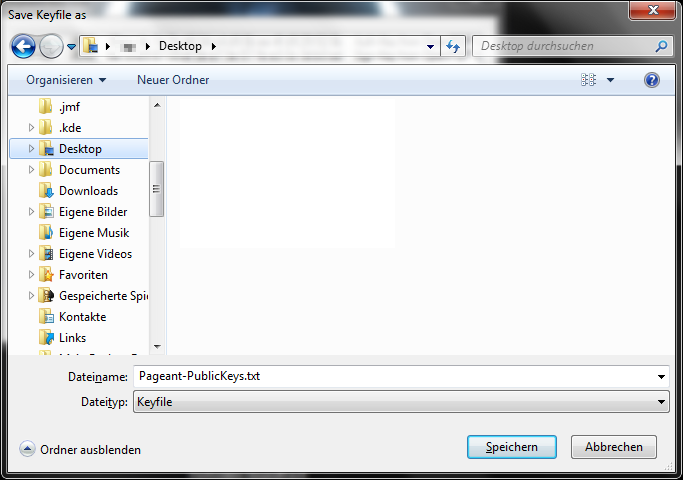
Seleziona Change Admin PIN. Questo è il tuo PIN amministratore che ti serve solo raramente. Inserisci il PIN attuale («12345678» per la consegna) e il nuovo PIN due volte. Per questo PIN, puoi usare i caratteri: a-z A-Z 0-9 / .;;:- !? () [] {}% +. Il PIN deve essere lungo almeno 8 caratteri. Clicca su «OK».
Ora hai cambiato i PIN e dovresti continuare a generare le tue chiavi personali.
Generazione di chiavi
To encrypt data and e-mails, a key pair consisting of a public key and a private key, must first be generated. The so-called public key is used to encrypt the data or e-mails. You can distribute this to all those with whom you want to communicate securely (for example, publish it publicly on your site). The so-called private key is used to decrypt the data or messages. This key should NEVER be made known! Usually, you also do not have direct access to it (see below), since this is stored securely on the Nitrokey. Use the Nitrokey to create both keys using the following procedure:
Inserisci la Nitrokey in una porta USB del tuo computer. AvviareThunderbird
In Thunderbird, selezionare come mostrato nell’immagine seguente «OpenPGP» → «Manage Smart Card»
Nella finestra «Dettagli SmartCard», seleziona «SmartCard» → «Genera chiave»
Nella seguente finestra, seleziona il tuo indirizzo e-mail per il quale vuoi generare le chiavi. Verifica che l’indirizzo e-mail specificato in «User ID» sia corretto. Puoi anche specificare se una copia di backup della chiave privata deve essere memorizzata sul tuo computer.
Se non crei una copia di backup, non hai alcuna possibilità di recuperare i tuoi dati criptati se la Nitrokey viene persa o danneggiata!
It is recommended to store this safety device. Select “Save key copy of the key outside the Smart Card”. Then enter your personal password for the backup copy under “Passphrase”. This password should not be less than 8 characters, and should contain both uppercase and lowercase letters and numbers. You can also use a long sentence, but avoid known prose or lyric. Also, no name or known term should be used.
Allowed characters:
a-z,A-Z,0-9,/.,;:-!?( )%+(no umlautsä,ü,ö,Ä,Ü,Öorß)Poor Passwords:
qwerty123,ILoveSusi3,PasswordStrong Passwords:
g(Ak?2Pn7YnorKi.stg2bLqzp%dorA dog with greeen Earz and fife legs(spelling errors increase security)You do not need this password for daily work. It is only necessary for the restoration of the secret key, e.g. if you have lost the Nitrokey. Therefore, keep the password in a safe place.
Potete anche specificare se e quando la chiave deve essere automaticamente invalidata. Ciò significa che, da questo punto in poi, non si possono più criptare e-mail con questa chiave e si deve creare una nuova coppia di chiavi.
Infine, clicca su «Genera coppia di chiavi».
Ora ti viene chiesto se la chiave deve essere generata. Confermate con «Sì».
Affinché il programma scriva le tue chiavi sulla chiavetta, devi inserire il PIN amministratore e il PIN utente (modificato sopra).
La generazione della chiave può durare alcuni minuti. Non terminate prematuramente il programma!
Quando la generazione della chiave è completa, si riceve il seguente messaggio. Ora viene creato un certificato che ti permette di invalidare la tua chiave in caso di emergenza. Questo certificato viene automaticamente salvato con la vostra chiave privata. Questo dovrebbe essere stampato o fatto un backup su almeno un altro supporto esterno in modo da poter revocare la validità delle chiavi se le chiavi e i backup vengono persi. Fare clic su «Sì».
You can now select the directory in which the backup copy is stored. This copy is encrypted with your password entered above. This means that no one can read or use the keys without your password. Do not give your password to anyone. This file with the name of your e-mail address and the suffix
.ascshould be backed up on another medium. After selecting the directory, click “Save”.
Qui devi di nuovo specificare il tuo PIN utente o la tua passphrase. Poi clicca su «OK».

Ripetere la procedura per il PIN dell’amministratore. «SmartCard → Modifica PIN»
Ora vedrai il messaggio che il certificato è stato creato e salvato. Clicca su «OK».
La generazione della chiave è ora completa. Ora puoi uscire dal programma (File - Close).
La tua Nitrokey è personalizzata e pronta all’uso. **Divertiti con la crittografia sicura delle e-mail!